Showing posts with label fabric. Show all posts

Wednesday, October 10, 2012

{ halloween burlap banner }

I pulled out my Halloween decorations finally. But, I decided to donate some of my
stuff so I could make room for some new stuff! I wanted a Halloween banner of course!


What you'll need:
* burlap
* pattern paper
* jute 
*sewing machine and thread


Start by cutting out burlap flags. I already had a pattern I made from another
banner project. I cut 16 flags.

I made a smaller scale of the burlap pattern for my paper. 
I had 4 patterns, so I cut 4 flags of each pattern.

Next, center your paper flag on your burlap flag and sew around all
3 sides. 


(Organizing your flags into the order you want them sewn on in advance
will prevent you from sewing on the wrong flag)

Start 1-2 feet from the end of your jute ( you may need this length
for hanging). Start sewing the jute across the top of the flag with a zigzag stitch, 
 continuously adding a new flag once you reach the end of the flag you are sewing, until you
have  added all flags. Cut jute 1-2 feet from the last flag.


You can hang your flag with tape or pins.


Thursday, October 4, 2012

{ love is sweet } table sign

Candy buffets are fun. To go along with my sisters
candy buffet, I made this sweet sign to sit along
side her jars of sweets.

 What you'll need:
* wood face (1x6x12)
* wood stand ( 1x4x16)
* paint
* sand paper
* 2 screws and screw gun or screw driver
* drill
*  printed/painted burlap
* spray glue
* ribbon (optional)

I sent my burlap off to the T-shirt print shop
to get these letter pressed on. It was a huge time saver
and looks great!
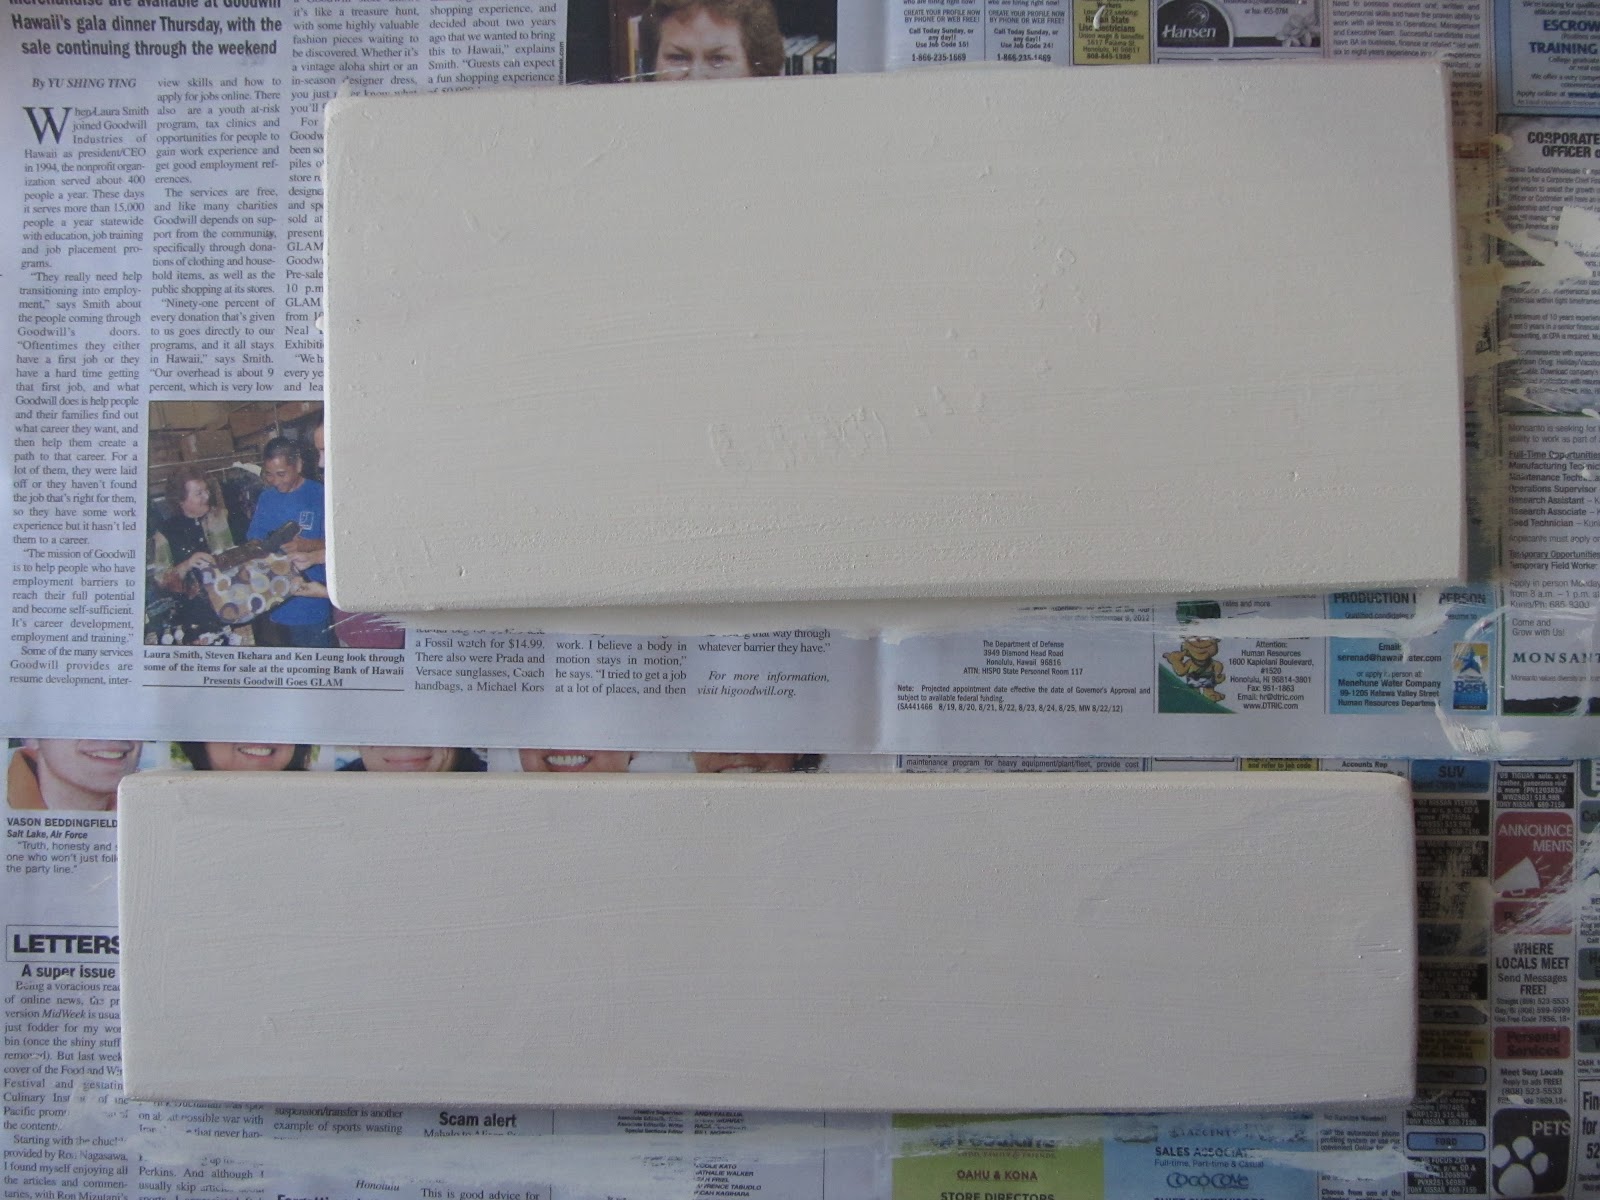
Paint your wood pieces. I used an
antique white.

 Sand edges with sand paper.

Drill holes in the wood face and wood stand.
(stand)

 (face)
Make sure they line up.
Use spray glue on the back side of
your burlap piece.

 adhere it to the front of the wood face.
Make sure your drilled holes are at the bottom before
you stick your burlap on! It's almost impossible
to reposition!
Attach face to stand with screws.

 Tie ribbon around the bottom of the face or
leave it regular! 
Enjoy


Tuesday, September 25, 2012

{ vintage, rustic ring bearer pillow }

In the last minutes of preparing for my sisters
wedding, I threw together a simple ring bearer pillow.
We intended on using burlap but found this lovely
weaved fabric. Reminds me of an old blanket.
 
What you'll need:
* fabric for the pillow
* fabric for the heart
* tulle
* ribbon
* jute
* sewing machine and thread
 
Cut two 9" squares from your pillow fabric.
Set back piece aside.
 
Cut out 4 pieces of tulle measuring
5x4 inches.
 
Cut out one heart from coordinating fabric
approximately 4x3 inches.

Pin heart, tulle and front piece of pillow fabric
together in that order.
 
Sew around the outside of the heart.
Remove pins.
 
Sew jute and ribbon to  the center of the heart
with a zigzag stitch.

 
Now sew the back pillow fabric to the front
pillow fabric with a 1 inch seam.
Wrong sides together.
Be careful not to sew the ribbon and jute into your
seam. Leave a 3-4 inch opening for stuffing the pillow.
 
Stuff the pillow.
 
Sew opening closed.
 
I had a fun time taking pictures of this one!

 
Enjoy!


Tuesday, September 18, 2012

{ mr. & mrs. } banner

Another wedding banner!
No wedding should be without something that says
Mr. & Mrs.
 
 
What you'll need:
 
* burlap
* scissors
* sewing machine and thread
* jute
* ribbon
* embellishments
 
I cut out a 5 inch wide pattern for my flags from some
cardboard. And then cut out 6 flags.

 
I took the flags to my local T-shirt shop and
had them add the lettering to each flag
individually in the font and size of my choice.
I requested 3 inch lettering.
 
When I got my completed pieces home, I
simply sewed a running strand of jute across
the top edge of my burlap flags.
 
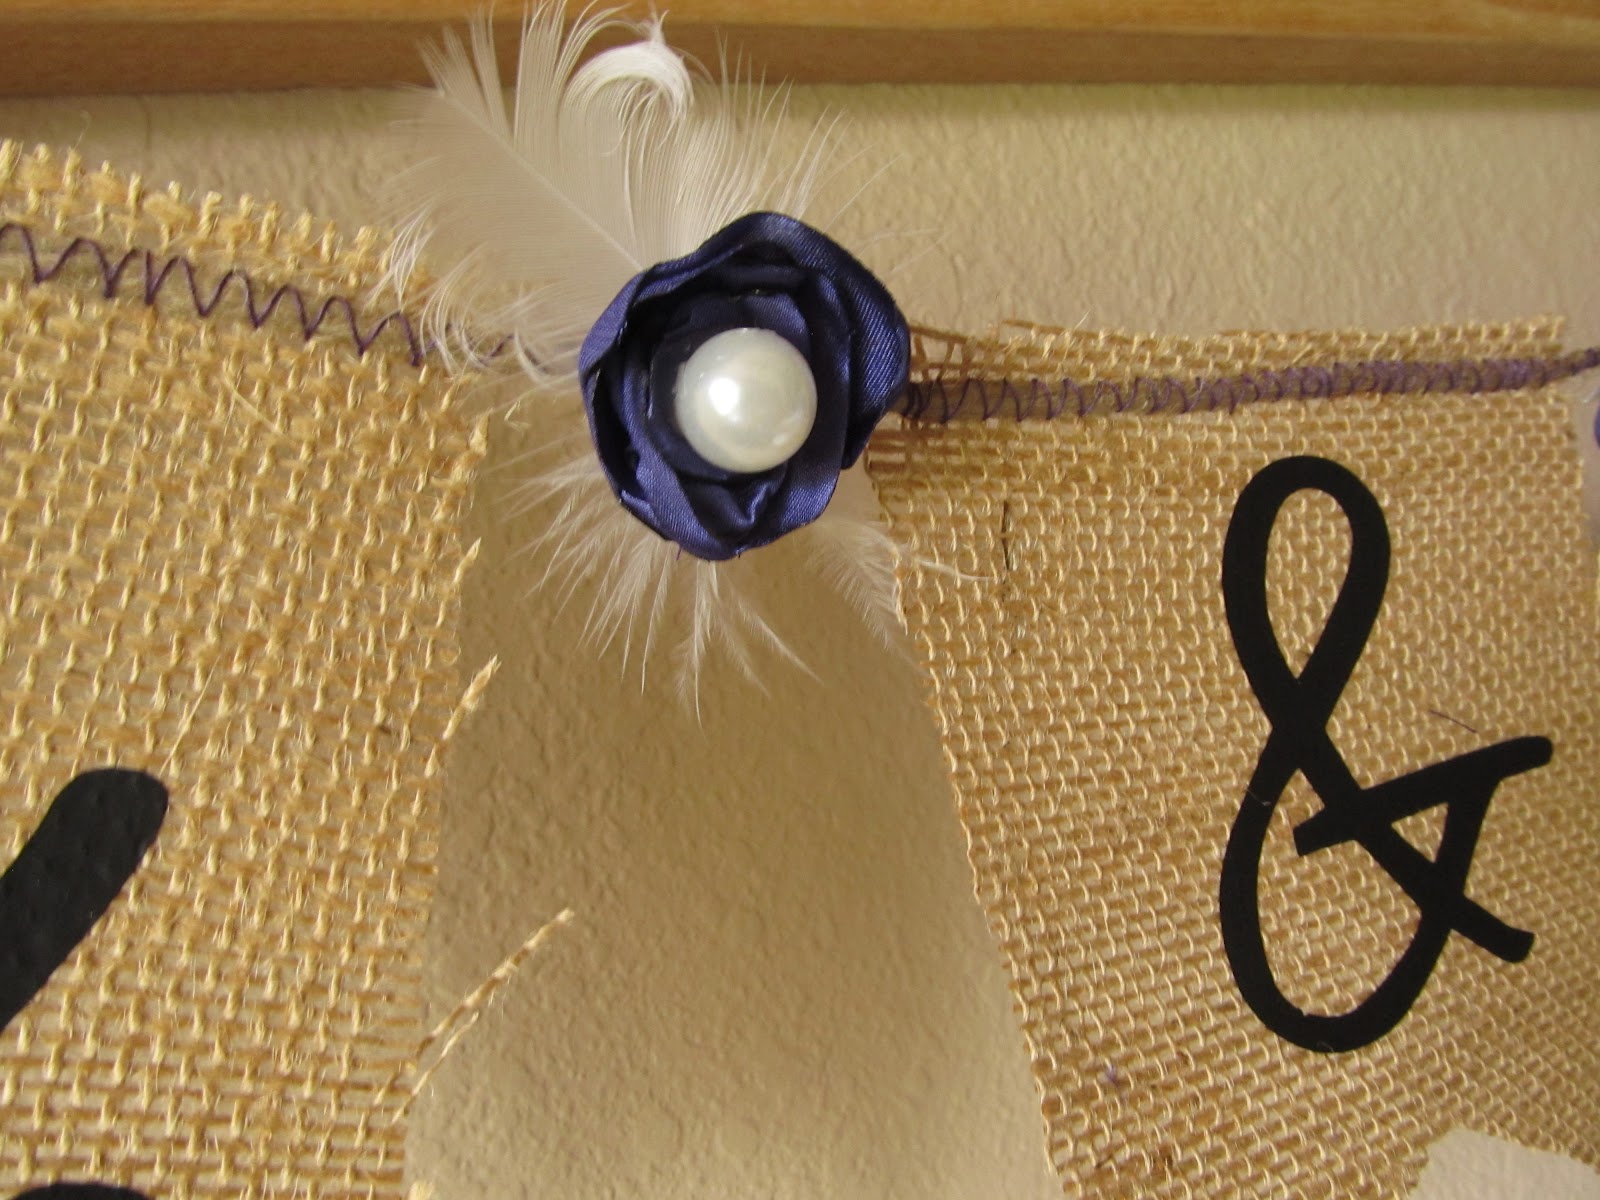
I left a small
space on either side of the "&"
for embellishments.
 
Hot glue satin flowers in the spaces.
 
 
Tie ribbon to either end of the banner.


Sunday, September 16, 2012

{ satin flowers }

I really love using these flowers for everything. And
since I used them EVERYWHERE for my sisters
wedding, here is the tutorial.... finally! :)
 
 
What you'll need:
* satin fabric
* scissors
* candle/flame
* needle and thread
* pearls, feathers (optional)
* hot glue (optional)
 
Start by cutting out several different size circles
from you satin.
 
 Using extreme caution, hold the fabric near
the flame on a candle. Satin is synthetic and is
very flammable. Be very careful. You only want to
heat the edge of the circle, one at a time, until
it begins to shrivel. Do not hold it directly over
the flame.
 
Your heated pieces will look similar to this.

Stack your pieces largest to smallest.

 Using a needle and thread, sew all pieces
together through the center until secure.

 
Now you can add embellishments, like
pearls....
 
...and feathers!

These make cute hair pieces and are great
as embellishments in larger projects!
 
Alternating colors of satin is another fun
way to make these flowers.
(this is my beautiful sister getting ready for her big day <3)
 
Or add them to a headband..
(my daughter and niece; flower girls)
 
 
enjoy!