Showing posts with label kids. Show all posts

Thursday, October 11, 2012

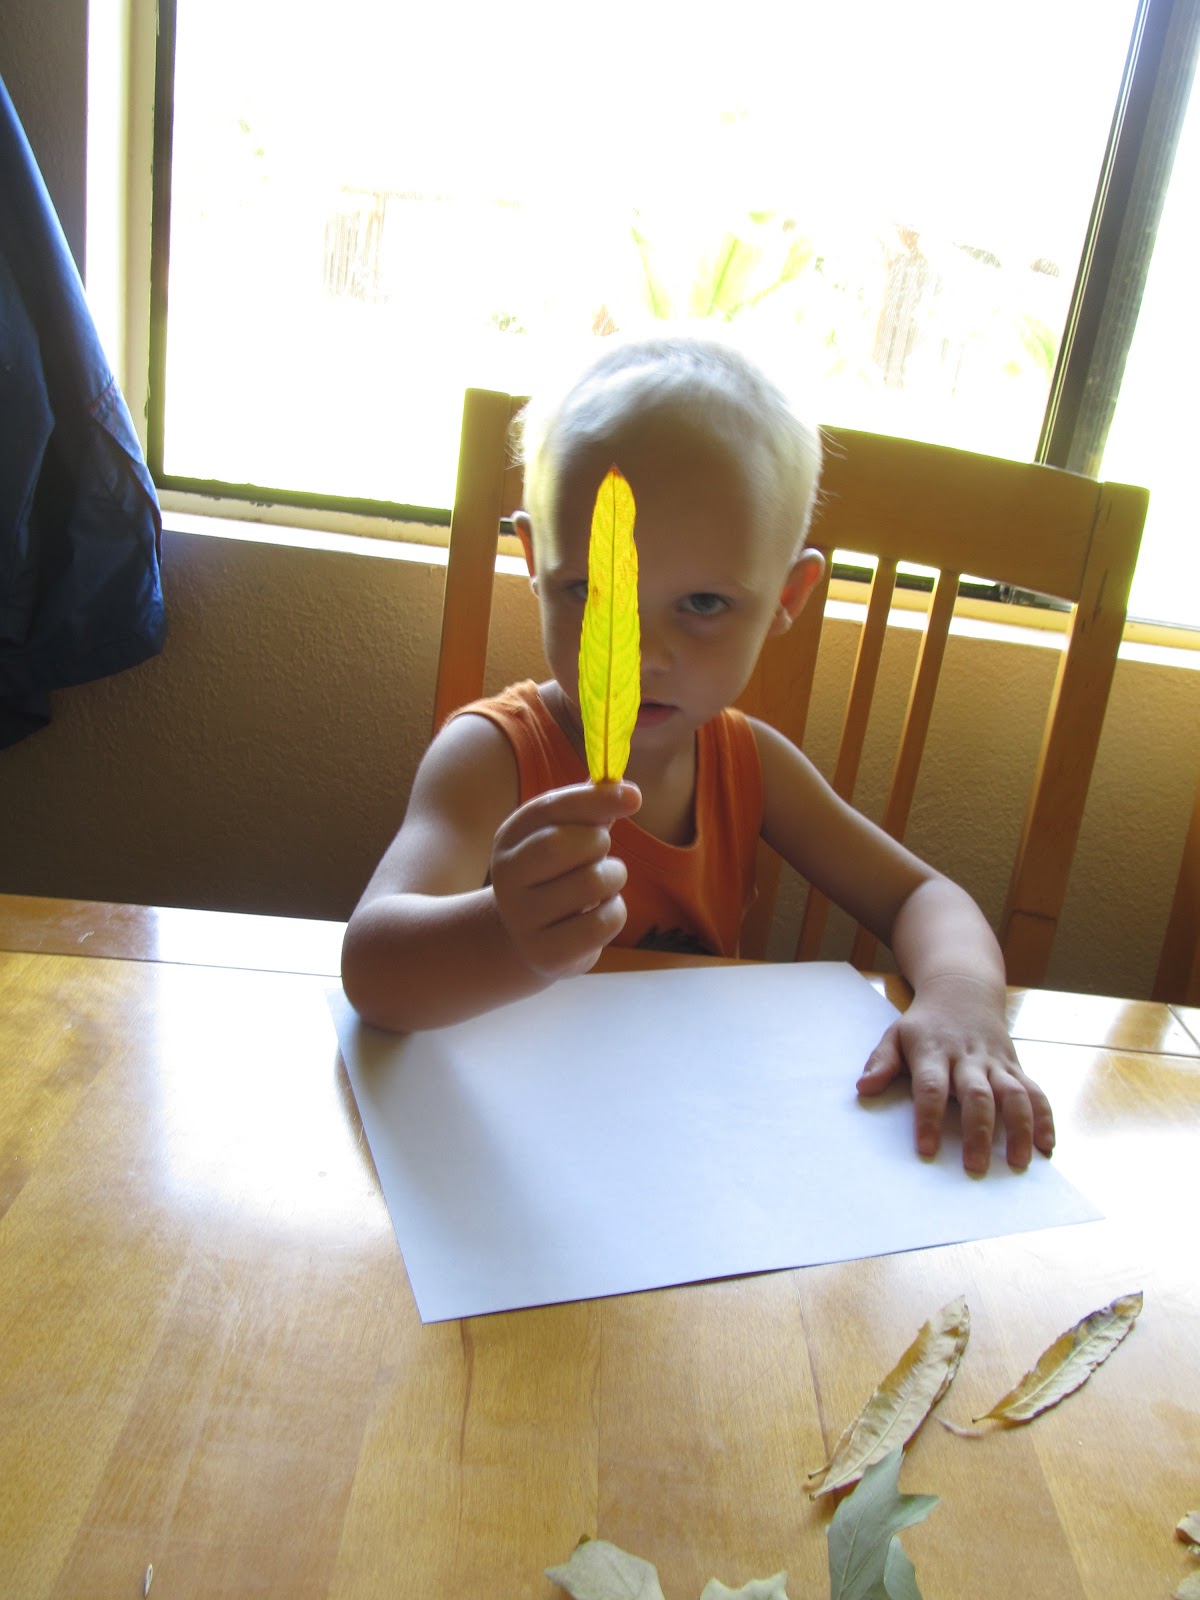
{ fall leaves art } kids project

I remember as a child, my mother would take my brothers and I into the canyon
and let us pick out all the fall leaves we could carry. They were beautiful reds, 
oranges, and yellows. We would bring them home and glue them onto paper in any
way our hearts desired. 


We don't necessarily have fall here in Hawaii. For the most part, everything
stays nice and green. Fall is definitely different for my kids than it was for me.
My mother sent a box for the kids last week and it was full of fall leaves! I was so 
excited to share a childhood tradition with my own kids. 

What you'll need:
* fall leaves
* white school glue
* white paper

Simply glue the leaves onto the paper!


At first all 3 of my kids were a little sceptical about what they were supposed to do. But
once they got a leaf on the paper, they were ready to do their "project". 
It was a lot of fun. They loved sharing with Daddy when he got home from work as well!


This is a fun family project you can do with the kids over the weekend!

Friday, July 13, 2012

{ marshmallow gun }

It's always a challenge to find enough activities to keep school age
children occupied throughout the summer months! Eventually, all of the fun
things begin to get old and you find yourself with a child (and all of their friends) 
asking for advice on fun, new things to do with their time! Luckily for me,
I have a husband who loves to create things as much as I do! So, Jake
saved the day this time! Thank goodness! 


What you'll need:
* 1/2" PVC pipe (approx. 29 inches long)
* 2 - 1/2" "T" connectors
* 2 - 1/2" 90 degree connectors
* 2- 1/2" caps
* Pipe cutter
* Weld-On PVC glue
* Cotton swabs
* Disposable rags
* Spray paint
* Mini marshmallows

First you need to cut your PVC pipe into smaller pieces: 
1- 8" piece 
3- 4" pieces
1- 3" piece
2- 2 3/4" piece
Using the knob on the end of the cutter, you can loosen and 
tighten the pizza cutter like blade. Tighten onto the pipe and spin
it around. Tighten after each spin until the pipe is cut through.

Lay out your pieces to prep for gluing

Marking your pipes before gluing is the best way to ensure everything 
lines up straight. To mark them, assemble the marshmallow gun prior to gluing.
Using a pencil, mark at the joints ( vertically and horizontally ) and then match 
up these markings once you've glued. It is more difficult to make corrections
once the glue has been applied. 

Line these up when you put your pieces back together after gluing.

**This glue can be a real mess! Try very hard not to get it on your clothes
or anything else you don't want ruined. Lay down a disposable rag
or newspaper to work on. Work in a well ventilated area or outside to
avoid fumes.

My husband used a cotton swab instead of the large applicator that comes
 with the glue to avoid dripping as much as possible. Dip your cotton swab in the 
glue. Wipe a generous amount of glue around the outside edge of the pipe.

Moving quickly, wipe a generous amount of glue inside the fitting.

Now, fit the two together, lining up your markings. The glue grabs fast,
so move quickly to make adjustments easier. Use a disposable rag to wipe
any glue that has oozed out. Avoid getting it on your hands.

Continue gluing the pieces together as they are shown in the image above.

Now spray paint! We let my son paint his own (with help)! It turned out
very colorful! Allow the paint to dry over night.

Now gather some ammo 
(aka: mini marshmallows)

Place one mini marshmallow into the top chamber. 

Now blow bursts of air into the chamber. The marshmallow will
shoot out the barrel of the gun! Make sure you teach your child
not to inhale while they prepare to blow the marshmallow out to avoid 
the chance of sucking the marshmallow back into their mouth and possibly choking. 

The marshmallow gun was such a hit with our son's friends that my husband
is now on back order making them! The best part is that it cost a total of $5! 


Saturday, June 9, 2012

{ barbie hair make-over } And giveaway winner


{Giveaway Winners}

Congratulations to the two winners of the little blue halos:

Tami Thomson
&
Jennifer Greg

Thanks for participating! If you left an email with your comment, I will contact you
via email. If not, please contact me within 48 hours to claim your halo through
my Facebook page or by email!

_____________________________________________________________________

Barbie hair make-over


Barbie is such a beauty! Silky smooth hair, big eyes, and don't forget 
the incredible wardrobe! But if you have a young girl, like I do, then Barbie's hair
is all but smooth and silky any more and and her clothes actually have to be 
washed with your laundry! 

So, Peach brought me a Barbie today and asked if I could tame her wild
mane. I was doubting my abilities momentarily. But I figured something out.. It's
not as hard as it seems! 


What you'll need:

* Liquid laundry soap (preferably with added fabric softener)
* Boiling water
* Cold water
* Cup

Sorry for the lack of pictures. 
If you can wash hair, you can fix Barbie!

Start by wetting Barbies hair.

Dip your finger tips in your liquid laundry soap and wipe through hair.

Brush soap through hair and remove all tangles.

Remove boiling water from any heat source. Dip Barbie's hair in the water and swish
it around a bit. Now pour the water over her hair slowly to remove soap.

Repeat above step in cold water.

Now brush the hair out and smooth it in place. Stand Barbie up in a cup to allow her
hair to dry completely.  


No more throwing Barbie's away for their nasty hair! :)

Friday, May 25, 2012

{ pencil nameplate } teacher

The school year is over here in Hawaii! At the last minute my husband and I 
put together this nameplate for Ryker's teacher. Ms Arakaki was so wonderful!
She really dedicated herself to teaching her class and making sure that
everyone felt included and loved! What a wonderful woman!


What you'll need:

* 12" long 2x4
* Saw and sander
* Paint
* Vinyl lettering
* Jute and/ or yarn


My husband was wonderful and cut out and sanded the piece of wood for 
me! You need to cut the tip of the pencil  this shape >. Then, using a
sander ( belt sander is best) run the edge around the other end to define the eraser.


Go ahead and paint your pencil. Allow it to dry completely.

 I cut my vinyl lettering out on the Cricut. I used " Making
the Grade" Cartridge. I cut Ms. Arakaki at 1 1/2 inches. Ryker at 1 inch.

Center on your pencil and press it on.

Peel off the masking...

I put Ryker's name and the year on the bottom.

I finished off by tying some jute and textured yarn around the groove
that separates the eraser from the body of the pencil.


I wrapped a little bit of tissue paper around it.

This would be great  for a first day of school, teacher appreciation week,
or just because your child has a wonderful teacher! 


Tuesday, February 14, 2012

{ valentine cootie catcher }

I've procrastinated once again!
Yesterday, I decided to add a little extra to the Valentine goody
bags that Ryker is taking to school. It was a last minute idea and I
just couldn't shake it off! I made one for Ryker and he was so pleased with it
that I went ahead and made more in a very tight time schedule! 

Remember these from grade school? 
Cootie catchers, right? I made a bunch of them
that were Valentine themed. Ryker loved them. He is 
really excited to show his friends how to use them!


What you'll need:
 
* Paper
* Pen
* Printer
* Scissors or paper cutter
* Origami skills (lol)

I started out by folding up one of these cootie catchers on a white
piece of paper. I used 12x12 pattern paper for the finished
product so I cut my white paper to a 6x6 inch size so 4 will fit nicely
on each piece of pattern paper.

I thought everyone knew how to fold these. But my brother says he never
made one! Maybe it was a girl thing? I don't remember.... so here are instructions
on folding up your cootie catcher!

6x6 inch paper

Fold in half diagonally
Open; fold diagonally the opposite direction

open

Fold corner in until point touches the center.

Repeat on all four corners.

Turn over

Fold corner into the center

Repeat on all four corners.


Fold in half 

Put your finger between these flaps

pull out on all four flaps.


That's it!

 Now you're ready to write on it! 


I scanned this onto the computer and opened it into 
a photo editing program. I added a transparent layer and then
 simply typed all of these words in
different fonts and then set them directly over the area I
wrote it. When I was done, I just removed this image. 

This is the finished image.

Now cut your 12 x 12's down to (4) 6 x 6's.


I opened my image in Microsoft Word and set my paper size to
6 x 6 inches. Now print!

And fold! 


{ Happy Valentine's Day! }