Showing posts with label wood. Show all posts

Wednesday, October 17, 2012

{ vintage produce box }

I needed a place to put my decorative gourds! 

What you'll need:
* 1/8" pieces of wood
- 6 at 2.5" x 12"
- 4 at 2.5" x 6" 
* 1" square posts
- 4 at 6 1/2" long
* a piece of 1/8" ply board
* dremel or sander
* paint
* stapler ( not a paper stapler, one for wood)

Start with your 1/8 inch pieces.

Use your Dremel tool to sand the edges.

Now take one of your 1/2 inch posts.

Attach,with staples, one of the 12" planks square and flush to the side top side.


Now attach a 12" plank to the bottom of the same post. 
Allow the plank to over hang 1/8".

Attach a second post to the other side of the planks. Flush
with the top, 1/8" over hang on the bottom. 

Staple a third plank diagonally across the others. 
Repeat to make a second piece like this.

Connect the two sides by stapling a 6" plank on to
the posts.

Repeat on the other side.

Next, attach the last two 6" planks to the bottom ends of the posts.
Remember to leave the 1/8" over hang here as well.


Set the frame on top of an 1/8" piece of ply board and trace the interior
of the frame onto the board. Cut this out.


This piece should fit perfectly in the 1/8" overhang and be flush with
the side planks.

Dab some wood glue  on the bottom of the posts.

Staple the bottom into place.

I painted my box with a water- paint mixture. It looks more worn
and vintage than paint alone.

Allow it to dry and fill with decorative gourds or pumpkins.


Friday, October 12, 2012

{ witch hat door decor }

No Halloween wreath this year. I couldn't think of anything and October 
kind of snuck up on me. When I lived in Utah I had made a very
similar (OK, almost exact) project. I believe my mother-in-law is the 
rightful owner of it now. I really did love it though so I made myself another!

What you'll need:
* 1/8 inch thick sheet of wood
* pencil
*  scroll saw
* dremel (optional)
* sander
* paint
* drill
* wire

Ok, I just free-handed what I wanted out onto the board. I 
have a witches hat, spider, and sign board.

Cut the important pieces out.

I drew on the details with a pencil.

I then used my dremel sander tool to round the edges and also
to add dimension in the detailed parts. 
Now paint.

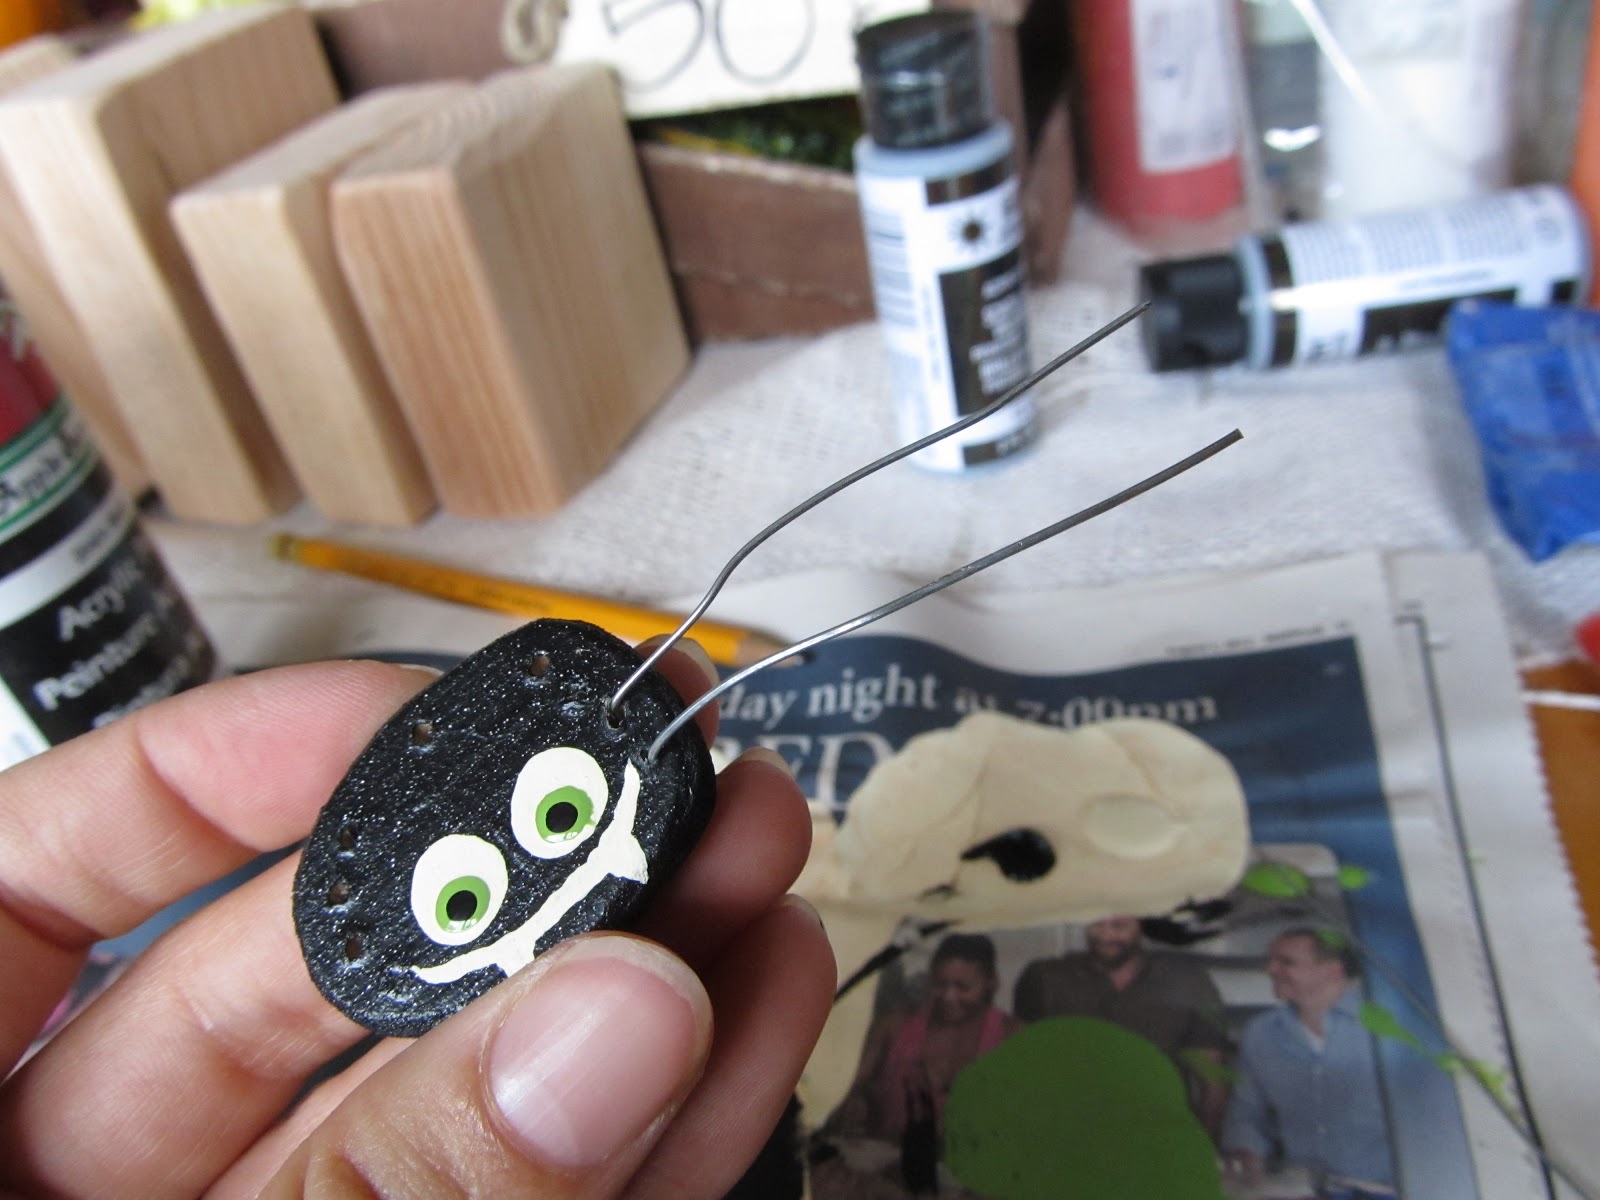
Before I painted my spider, I drilled 9 holes into it. One a top center,
 and then four on either side. This is where his legs will be so drill 
them where you think they'll look best.

I cut 4 pieces of wire, each about 5 inches long. 
Thread one through the first leg hole and out the hole directly next to it.


Repeat in the next two holes and then on the other side of the spider.
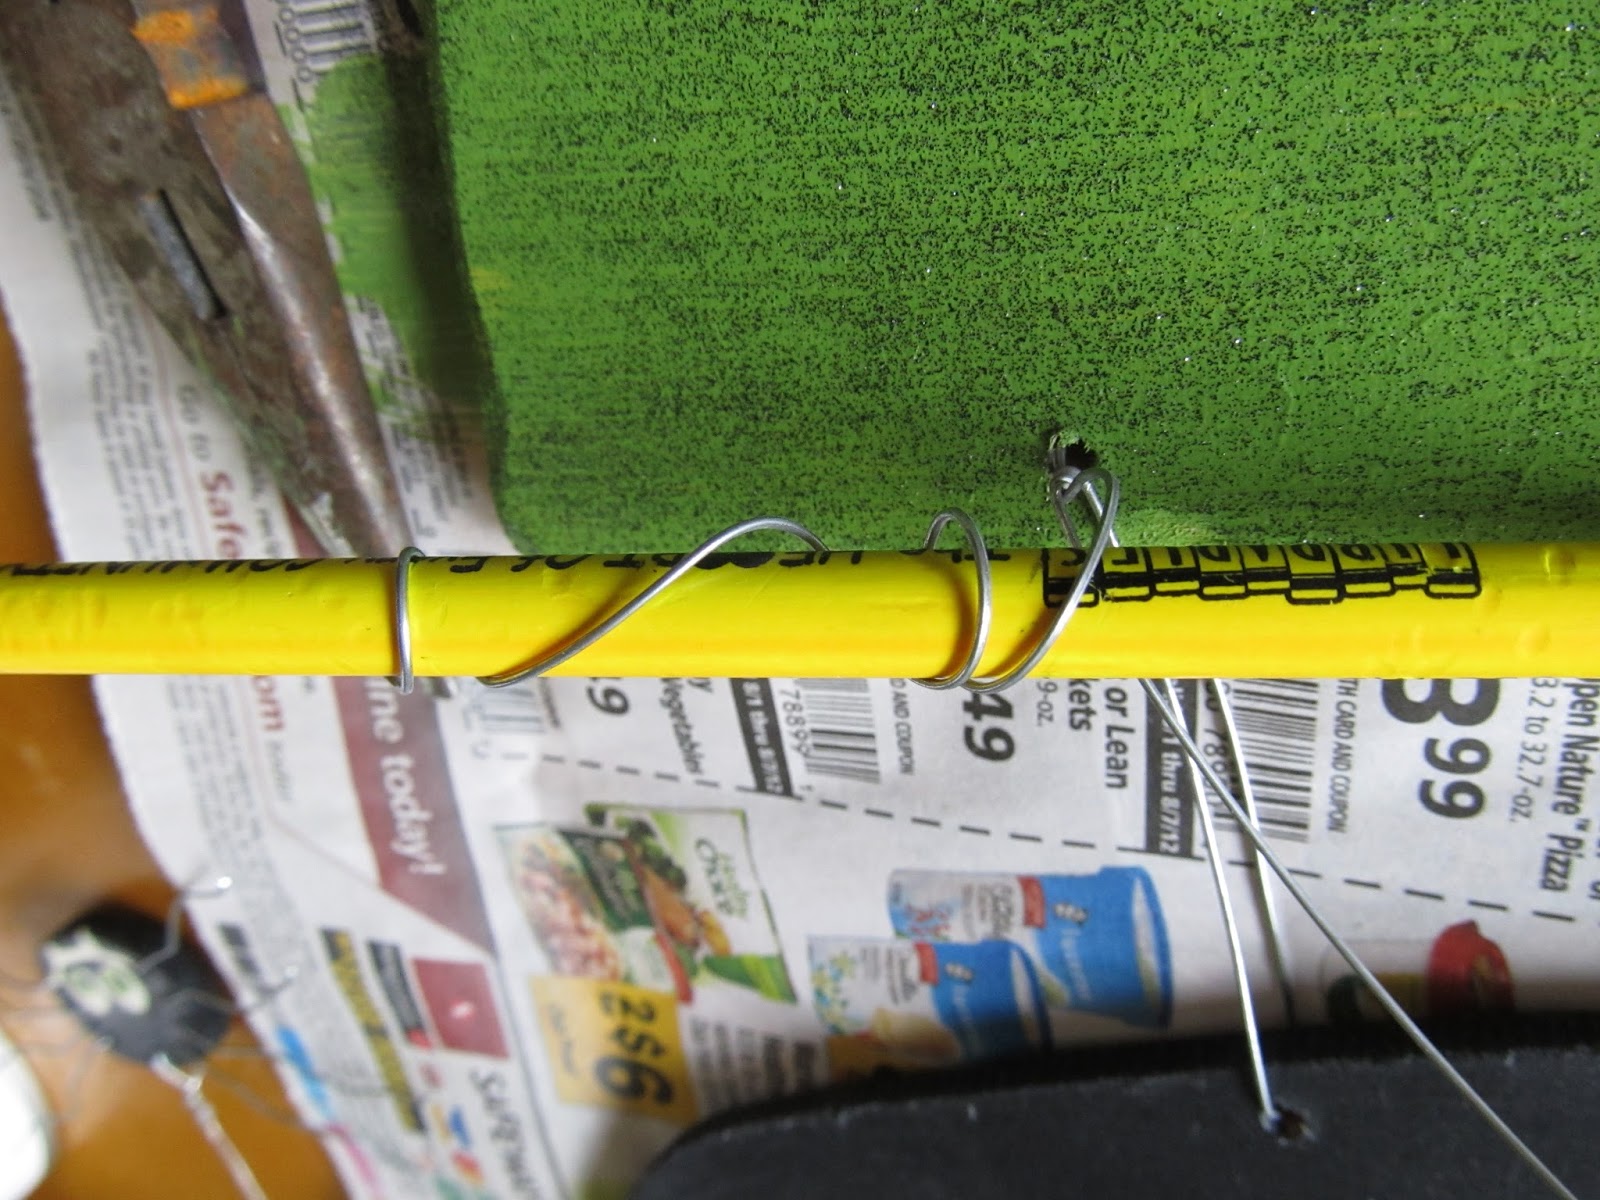
Use a pair of needle nose pliers to 'zigzag' the legs.

Drill holes on each end of the sign board. Then center it  along
the base of the witch hat. Mark on the witch hat directly above the
holes on the sign. Drill these also. Connect with a long piece of wire.

Use a pencil to wrap the excess wire around to create curly-cues.


Drill a hole in point of the witches hat and attach the spider with wire.
Add vinyl or paint your own saying or quote.

Attach a hanger to the back of the hat and hang it on your door.


Saturday, October 6, 2012

{ wedding arrow sign }

These arrow signs are so cute and simple for any backyard occasion!
This one just happened to be a {wedding}.

What you'll need:
*  1x6 piece of wood
* 1x1 piece of wood (cut one end into a point for
staking into the ground)
* paint and paint brush
* screws
* sander 
* saw

My Grandpa and I made this sign the morning of the wedding
on a whim (I'm good at that). It took us about 15 minutes and  we
just used what he had laying around in his shop. We started
with a 1x6 piece of barn wood. I just free-handed a point on one
end and an indented point on the other.
 Then cut them out.

Sand the cut edges.

Now screw the 1x1 stake onto the back of your arrow, pointy end down..

Paint your word or words onto the front side of your arrow. You can
use vinyl, too, if you thought that far in advance ;)

Tie a ribbon or some tulle around the stake near the arrow and 
hammer it into the ground. Just remember to consider which way
you want your arrow to be pointing before you screw it onto the stake. 
We want to help our guests, not confuse them! :)

Most wonderful man I know, and my partner in crime
for this project! Thanks Grandpa! 

enjoy


Thursday, October 4, 2012

{ love is sweet } table sign

Candy buffets are fun. To go along with my sisters
candy buffet, I made this sweet sign to sit along
side her jars of sweets.

 What you'll need:
* wood face (1x6x12)
* wood stand ( 1x4x16)
* paint
* sand paper
* 2 screws and screw gun or screw driver
* drill
*  printed/painted burlap
* spray glue
* ribbon (optional)

I sent my burlap off to the T-shirt print shop
to get these letter pressed on. It was a huge time saver
and looks great!
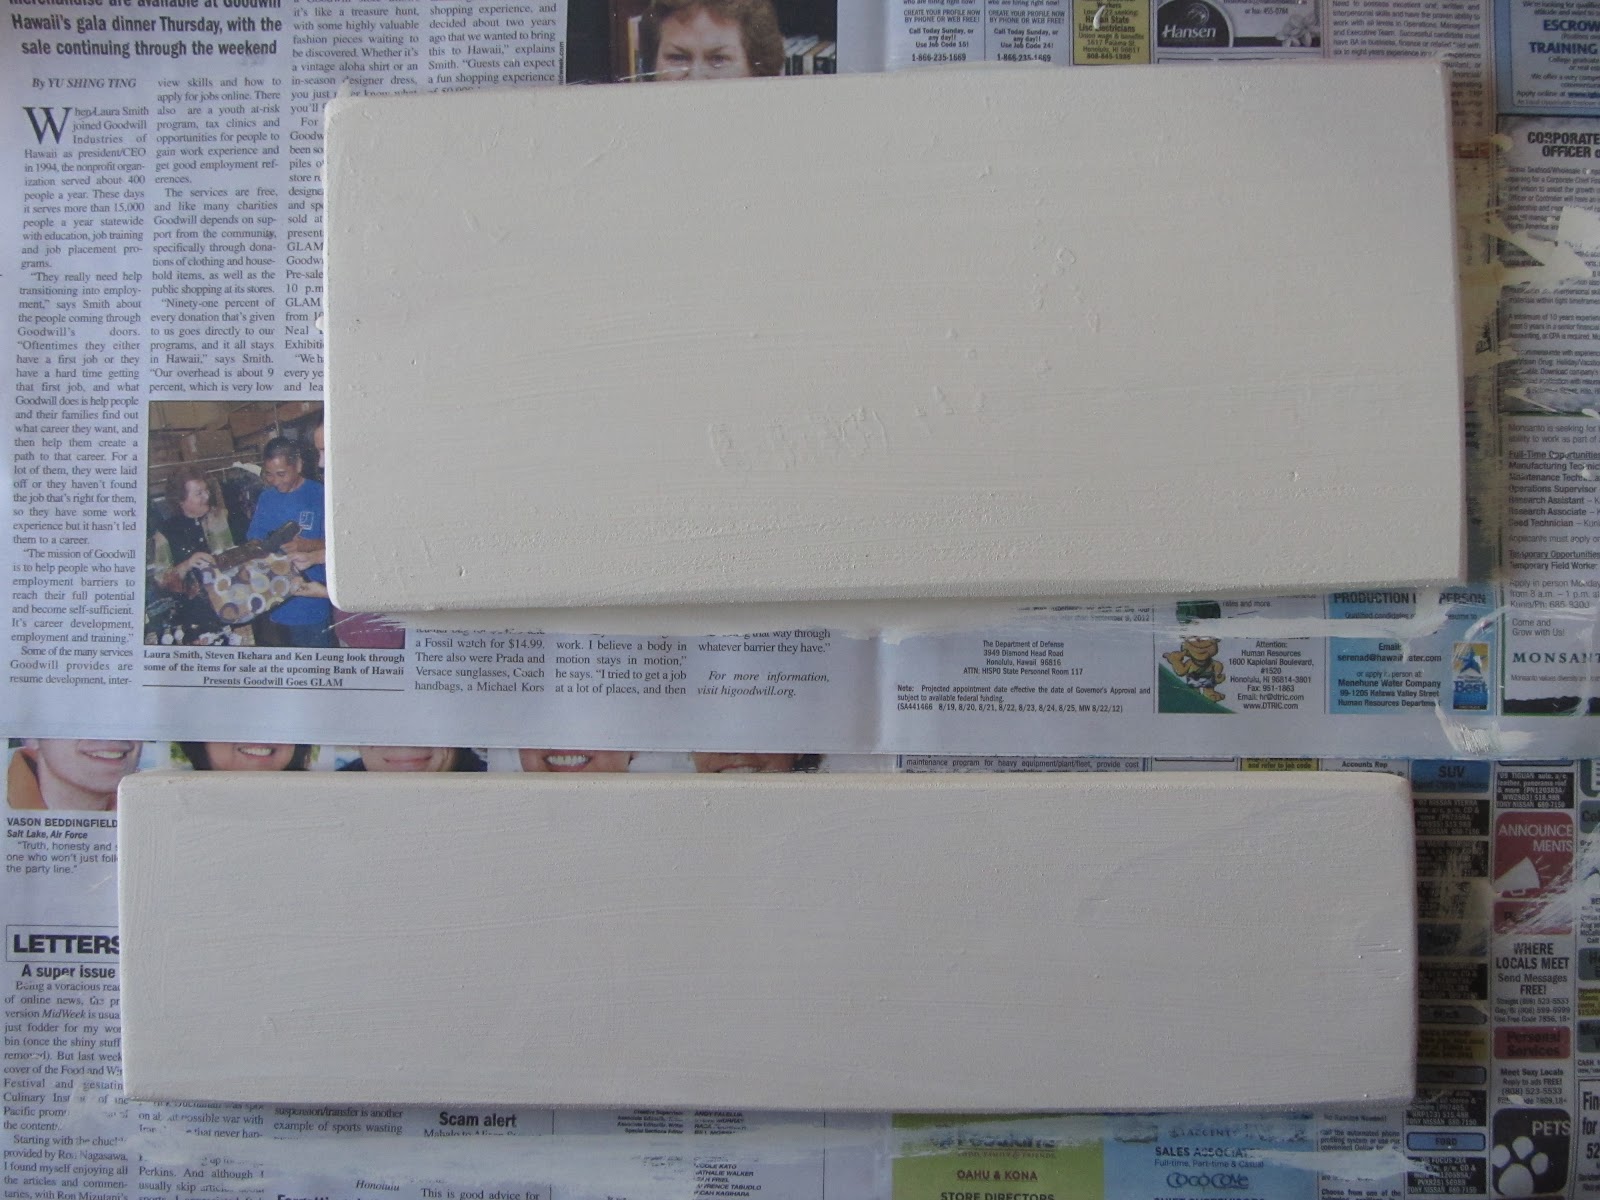
Paint your wood pieces. I used an
antique white.

 Sand edges with sand paper.

Drill holes in the wood face and wood stand.
(stand)

 (face)
Make sure they line up.
Use spray glue on the back side of
your burlap piece.

 adhere it to the front of the wood face.
Make sure your drilled holes are at the bottom before
you stick your burlap on! It's almost impossible
to reposition!
Attach face to stand with screws.

 Tie ribbon around the bottom of the face or
leave it regular! 
Enjoy