Showing posts with label home. Show all posts

Tuesday, January 3, 2012

{ shabby chic bedroom furniture } old new again

I've finally started on my bedroom! I'm really excited
to get it done! The only thing I'm having trouble with is deciding
what color to paint the walls. In the meantime, I've
got a few projects to finish anyway. This weekend
I re-painted my dresser and nightstands. When we
first bought them (second hand), we had painted them black
because at the time I really didn't have an idea
of how the bedroom would be decorated. 
And now that I've redone them, I LOVE them! 

(don't mind that my bed isn't made)

This is an inexpensive way to make your
furniture fit your decor without having to go
out and buy new pieces. 

What you'll need:
*  A pint of flat paint.
* Paintbrush and small roller
* 120 grit sand paper

Here's the nightstand. Go ahead and take the
drawers out. I wanted to paint my hardware
to give it that worn vintage look as well. 
Depending on your preferences, you
can tape the hinges off or remove the doors
and hinges until after you've painted.

Use some sandpaper and scuff up the finish a bit. This
helps the paint stick. Wipe off the dust.

Lay down some newspaper or a drop cloth under
the nightstand to avoid a mess.

If you're lucky, you'll find one of these, too! Score!

I used BEHR's antique white, interior flat paint.
I've found that gloss paints peel off really easy. 

Using your roller, paint your surface completely. I like to
avoid the paint tray when using this little roller. 
You can just dip it into the can and let it drip off a 
little. Way easier and less mess to clean up.

You may have crevices that you can't get with the roller.

 Use your paintbrush for these parts. 


The first coat will be thin, especially if your
going from as dark as I did, to as light as I did.
Once the first coat is dry, add a second coat.

DO NOT put a second coat of paint on until
the first coat is not longer tacky. If you try
to add a second coat before the first is dry, it will
just lift the first coat.

I recommend you let the second coat dry over night. 
If you are going to sand your piece of furniture,
it will gum up if it isn't completely dry.

Now it's time to age your piece. Use your sandpaper
and scuff up the new paint. Focus on the edges, corners
and other details in the wood.

 You don't have to sand every part. I like to make 
it look less intentional and more natural. Have fun
with it! Don't worry about making it perfect.

Here are a few more detail shots.


If you've used newspaper, it's probably stuck to the 
bottom of your nightstand. 
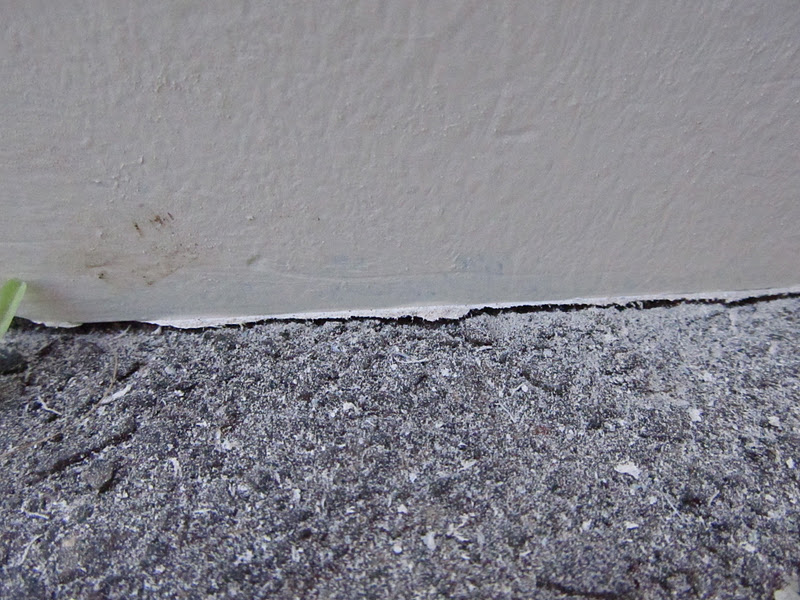
 Just use your sandpaper and sand it off! 

Make sure you use a rag and wipe off all the dust
from sanding before bringing it into the house. Put
your drawers back in and put your doors and 
hinges back on if you removed them.

This is an easy way to make your old furniture
new again. Total cost to redo 2 night stands, a dresser
and a headboard:  $15


Enjoy!


Tuesday, October 4, 2011

{ homemade magnets }

A house is not a home unless you have refrigerator magnets!
This may or may not be true but I can
tell you that the magnets I have are not a pretty sight! My
collection is mostly made up of those advertisement magnets from the
front of  phone books, ABC's and farm animals!
I know... yours are too!
ha ha.....I got a wild hair and decided that magnets
CAN look nice and even MATCH each other!


Does your fridge look anything like this? :)


Flower magnet
What you'll need:
1. Fabric & scissors
2. Hot glue
3. Magnet buttons (small round magnets)

I just made a shirt the other day and have these
scraps left over! The fabric will be perfect for my
kitchen!

these flowers, I cut about 20 fabric circles for each.


I have shown these carnation type flowers once before on A Lott Of Ideas.
They are very simple! The only difference is that I have used a
magnet for the backing and it's much smaller.
Click here for full instructions


Clothes pin magnets

What you'll need:
  1. Page from an old book ( or any patterned paper you love)
  2. Magnetic sheet with adhesive backing
  3. Mod Podge and small paint brush
  4. Clothes pins
  5. Ink and embellishments ( optional)
Place your wooden clothes pin on top of your
paper and trace it. Then cut it out and trim to fit.


Now place the clothes pin on the magnet sheet. Trace
and cut.

Use Mod Podge to attach your paper to one side
of your clothes pin. Allow it to dry 15 min. I used
some ink to add a vintage look to my paper edges at
this point.


Remove adhesive backing from your magnet
strip and attach it to the other side of your clothes
pin.


Once your Mod Podge has dried, add a layer of
Mod Podge on top of your paper to protect and
seal it.


I don't make very many things without embellishments
so I added a tiny rosette to the tops of each clothes pin!
For instructions on how to make these cuties, click here!


Now that I've replaced all of my old advertisement magnets
and given my kids back their ABC's and farm animals ( and
thrown out all the junk that didn't need to be saved), my fridge
looks so clean and organized!


And the kids are happy to have their stuff back! :)


Tuesday, March 29, 2011

{ my kitchen }

My kitchen has always been so ordinary and boring! There really isn't a lot of wall space either, so my options for making it feel more put together have been limited. I'm not real sure what got into my husband last week but I liked it! He was off work early and suggested I go buy paint for the kitchen! So... I did! I only spent about hour looking at paint swatches! :)   At one point an Ace hardware employee actually came over to make sure I was OK and started suggesting colors to me! I eventually settled with grays! A nice charcoal gray for the wall and bright seal gray for the cabinetry! It took 3 days to paint everything! The cupboard doors took the longest! As you can see, there are a lot of them and each side got 2-3 coats! The problem was that I could only paint about 7-8 at a time and I had to wait a LONG time before I could turn them over to paint the other side because I didn't want to damage the new paint! Well... it's finally done and I am SO happy with it. My husband and I couldn't stop walking into the kitchen to just stand in it!

Here are some before pictures... ( my fridge wasn't normally in the middle of the floor though! lol )


And after!
 We used a bright white caulk line around all the counter tops and along the cabinets too. It created a beautiful definition between colors!

You might recognize this wreath from a previous blog! This was originally for the bathroom but it looked so nice here! So it's staying in the kitchen!
And one last photo because it's funny! I got stuck doing all painting above the cabinets. My husband was too tall to stand on the counter tops!  And of course I'm wearing one of my husbands work shirts so I don't have to ruin any of mine! :)
 And now my favorite part; creating wonderful things to decorate the space!