Showing posts with label scrapbook. Show all posts

Tuesday, January 17, 2012

{ bunting inspired invitations }

Incredibly enough, it's the middle of the month already! Where,
oh where is the time going!? I feel like I've been so busy
lately. But, really, I've only done a few projects and 
mostly crocheting! :) Time to get some more projects complete!


My baby girl is turning 4 tomorrow 
(then no more birthdays 'til September)!
We are celebrating this weekend with a tea party
and then a BBQ. I finally made the invitations!


I was walking through Goodwill the other day and found a pack
of invitations for $0.50. This is significantly less than what
I usually spend on invitations. Even home made ones! It actually 
costs me more than that for just one piece of card stock at
my local scrapbook store. So, needless to say, I bought them!

What you'll need:

* Invitations or card stock cut to invitations size
* Craft paper or paper bag
* Pattern paper ( I used scraps)
* Scissors
* Glue
* Sewing machine with coordinating thread
* Embellishments (optional)

Here is a photo of my fifty cent invitations!

Start by tracing the section you want covered onto
your craft paper. Then cut the piece out.

Glue it down and trim the edges. Set the invitation aside.

Cut out small triangles from your pattern paper. I used
7 different papers. 


Now, line them up on your invitation how you want them.
you can draw a line or use some string to help 
you out if you want. I just eyed mine up and then used it
as a visual for the others. 

Now glue your flags down. I only put a small amount
of glue on the top edge so the flags didn't lay flush. 


Using your sewing machine, sew along the tops of the
flags from one side to the other and then reverse stitch
back to the beginning. Don't worry about staying on the
same line. It looks cute to have them a little crazy!
And don't forget to sew it 
with the invitation open! 
Don't want to sew it closed!


Now you can add any embellishment your little heart desires! 
I kept mine simple and just added a flower with
a button brad!  


Such an easy way to make those left over invitations from 
last year work again this year! 
Total cost for 10 invitations: $0.50


Monday, October 10, 2011

{ toothpick flag and candy corn cupcakes }

I love Halloween and fall and all the decor and cute
stuff that can go along with it! I can't wait to get
some of my festive projects done and posted
for all to see and do!


on www.sugarturntable.com, and had to make them!
She has so many cute things on there!
This is HER picture, not mine! Mine weren't nearly
as cute! hahah Use her advise on refrigerating after each
frosting layer or you won't end
up with cupcakes like this!


When I was done
I felt that I needed some toothpick flags to
stick into them! It's a simple project
that can be used for any reason! They are
cute in scrapbooks and on cards! You can
decorate deserts for any holiday or birthday by simply
using different paper!


What you'll need:

  1. Pattern paper
  2. Toothpicks
  3. Liquid glue ( like white school glue)

First you'll want to either make a pattern on
scratch paper, or just free hand on the backside
 of your pattern paper,
the shape you want your flag(s).


Cut them out!


Use glue over the backside of your flag and
wrap it around the tip of your tooth pick.


That's it!


And the uses are endless! I just used up some
more of my scraps and made a bunch to
use on future scrapbook pages!

And look how cute they are on these candy corn cupcakes!


The cupcakes were yummy! lol


Monday, June 27, 2011

{ fabric buttons }

I've been wanting to try these out for some time now! I finally went to the
store and bought them! These are buttons that you put together
yourself! You choose the fabric, you choose the size! I got a new
couch and the throw pillows that I made less than a year ago are WAY to
big for it! So I am making smaller ones... with big red buttons!

What you'll need:
  1. fabric of your choice scissors
  2. package of cover buttons and tool

First you cut your fabric to be twice the diameter of your button.
My buttons are an inch and a half so I cut my fabric into 3 inch
squares.

Your next step is to layer your stuff. Start by placing the
rubber white piece down.

Now center your fabric, face down, onto the rubber piece.

Next lay your button, face down, on top of the fabric.

Press the button into the center of the rubber mold.

Now fold all the extra fabric down behind the button.

Put the button back on top of the extra fabric

Use the blue piece to press the back into the button until
you hear it snap into place.

Now pop your button out of the rubber mold!

Now you can sew your button onto your project or snip off the loop and
add it to scrapbook pages, hair accessories, or even rings!

Sunday, April 17, 2011

{ heart card }

I needed to get invitations together for my sister's bridal shower and I decided to make these little cuties! I made 36 of them in just over an hour ( only about 2 min per card)!  They are soooo simple! They would be perfect for so many occasions; birthdays, mothers day, showers, and thank you cards!


What you'll need to make 1 card:
  1. 4 inch x 8 inch piece of card stock ( this is the card)
  2. 5 hearts in whatever colors or patterns you like
  3. 1/2 inch x 4 inch strip of coordinating paper
  4. sewing machine and thread
  5. scissors

So you just start by folding your 4x8 card stock in half so you have a 4x4 card. Then unfold  it again!

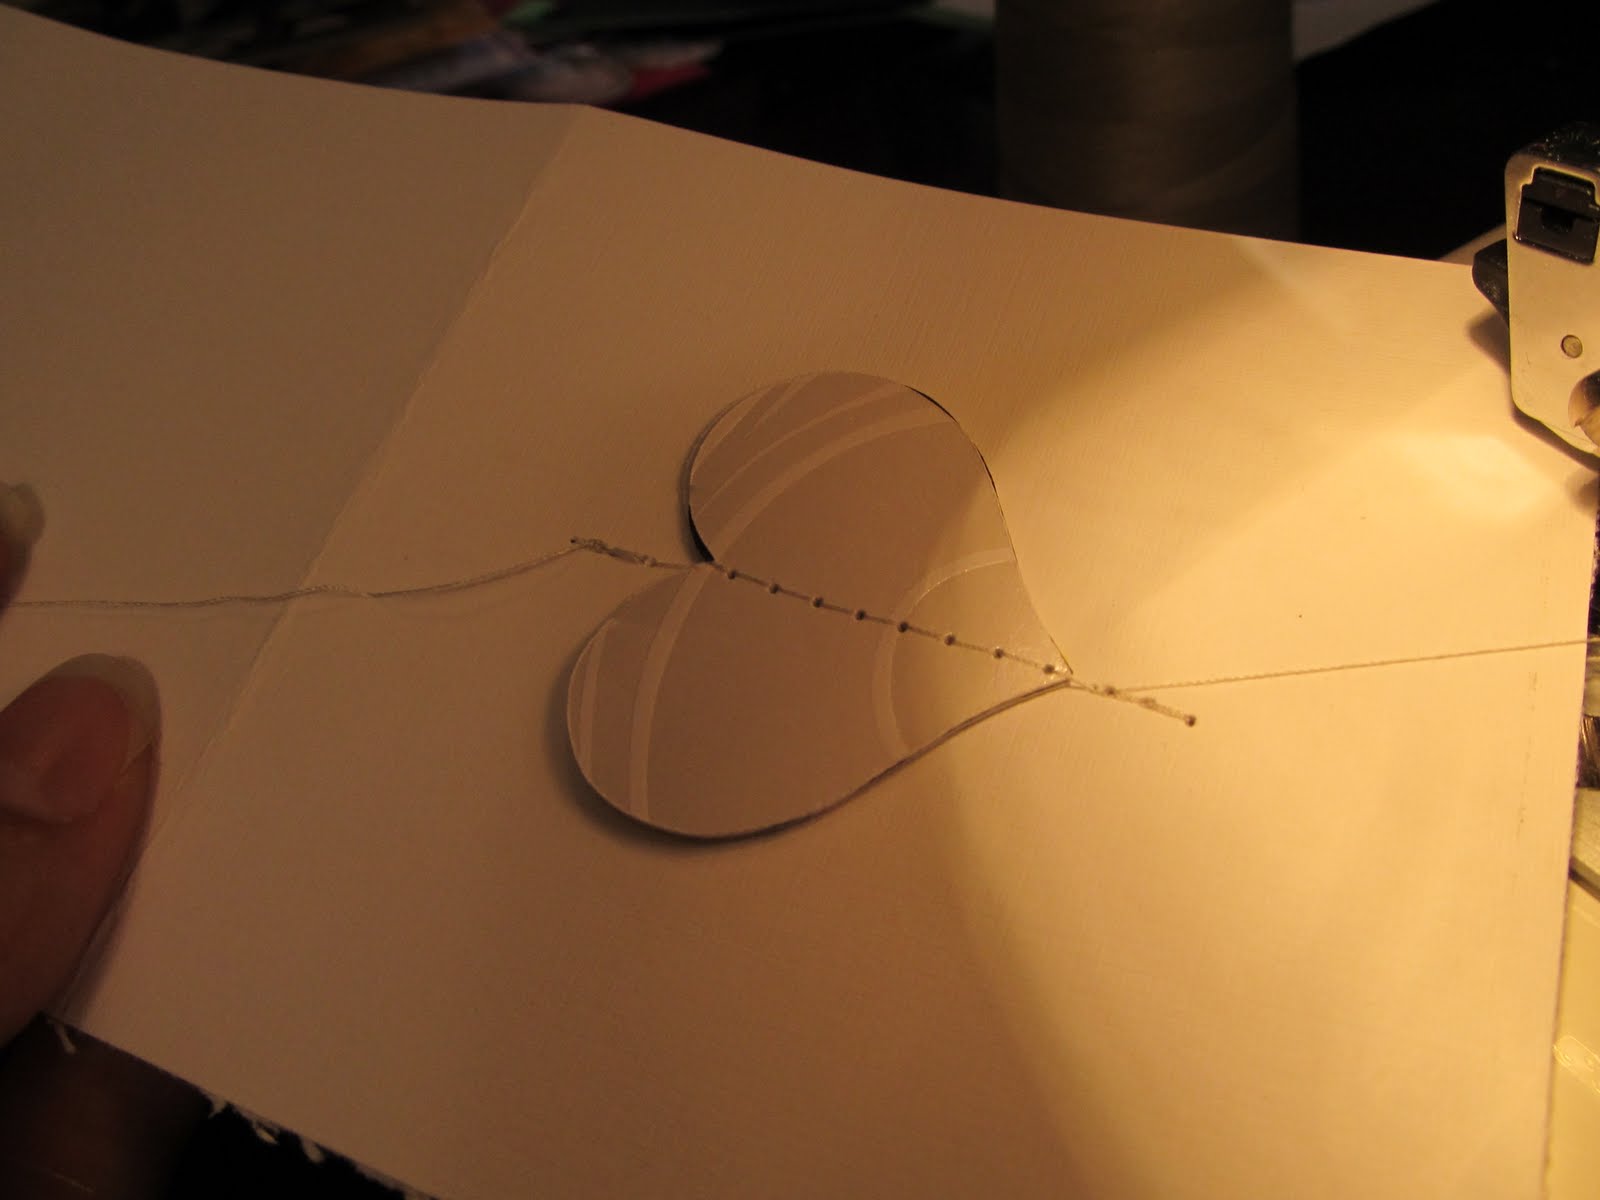
Take your hearts and stack them in any order you like! Now slide your unfolded card under your pressure foot on the sewing machine. Make sure you change your settings to the longest stitch length!You will want to sew your hearts down on the bottom half of the card; this will become the front.

I started about 1/2 an inch above the center of the heart. Make sure to back stitch! Hold your stack of hearts real tight and  still. Sew down about 1/2 inch past and back stitch again.

At this point I added the strip of paper on the opposite side and end of the paper; this is the inside of the card. I simply sewed from one end to the other! Now clip all of your threads.
Now just fold your heart a little to make them ruffle up a bit! You should be able to see all of your colors now. You're done! Easy huh! :)