Showing posts with label paint. Show all posts

Thursday, October 4, 2012

{ love is sweet } table sign

Candy buffets are fun. To go along with my sisters
candy buffet, I made this sweet sign to sit along
side her jars of sweets.

 What you'll need:
* wood face (1x6x12)
* wood stand ( 1x4x16)
* paint
* sand paper
* 2 screws and screw gun or screw driver
* drill
*  printed/painted burlap
* spray glue
* ribbon (optional)

I sent my burlap off to the T-shirt print shop
to get these letter pressed on. It was a huge time saver
and looks great!
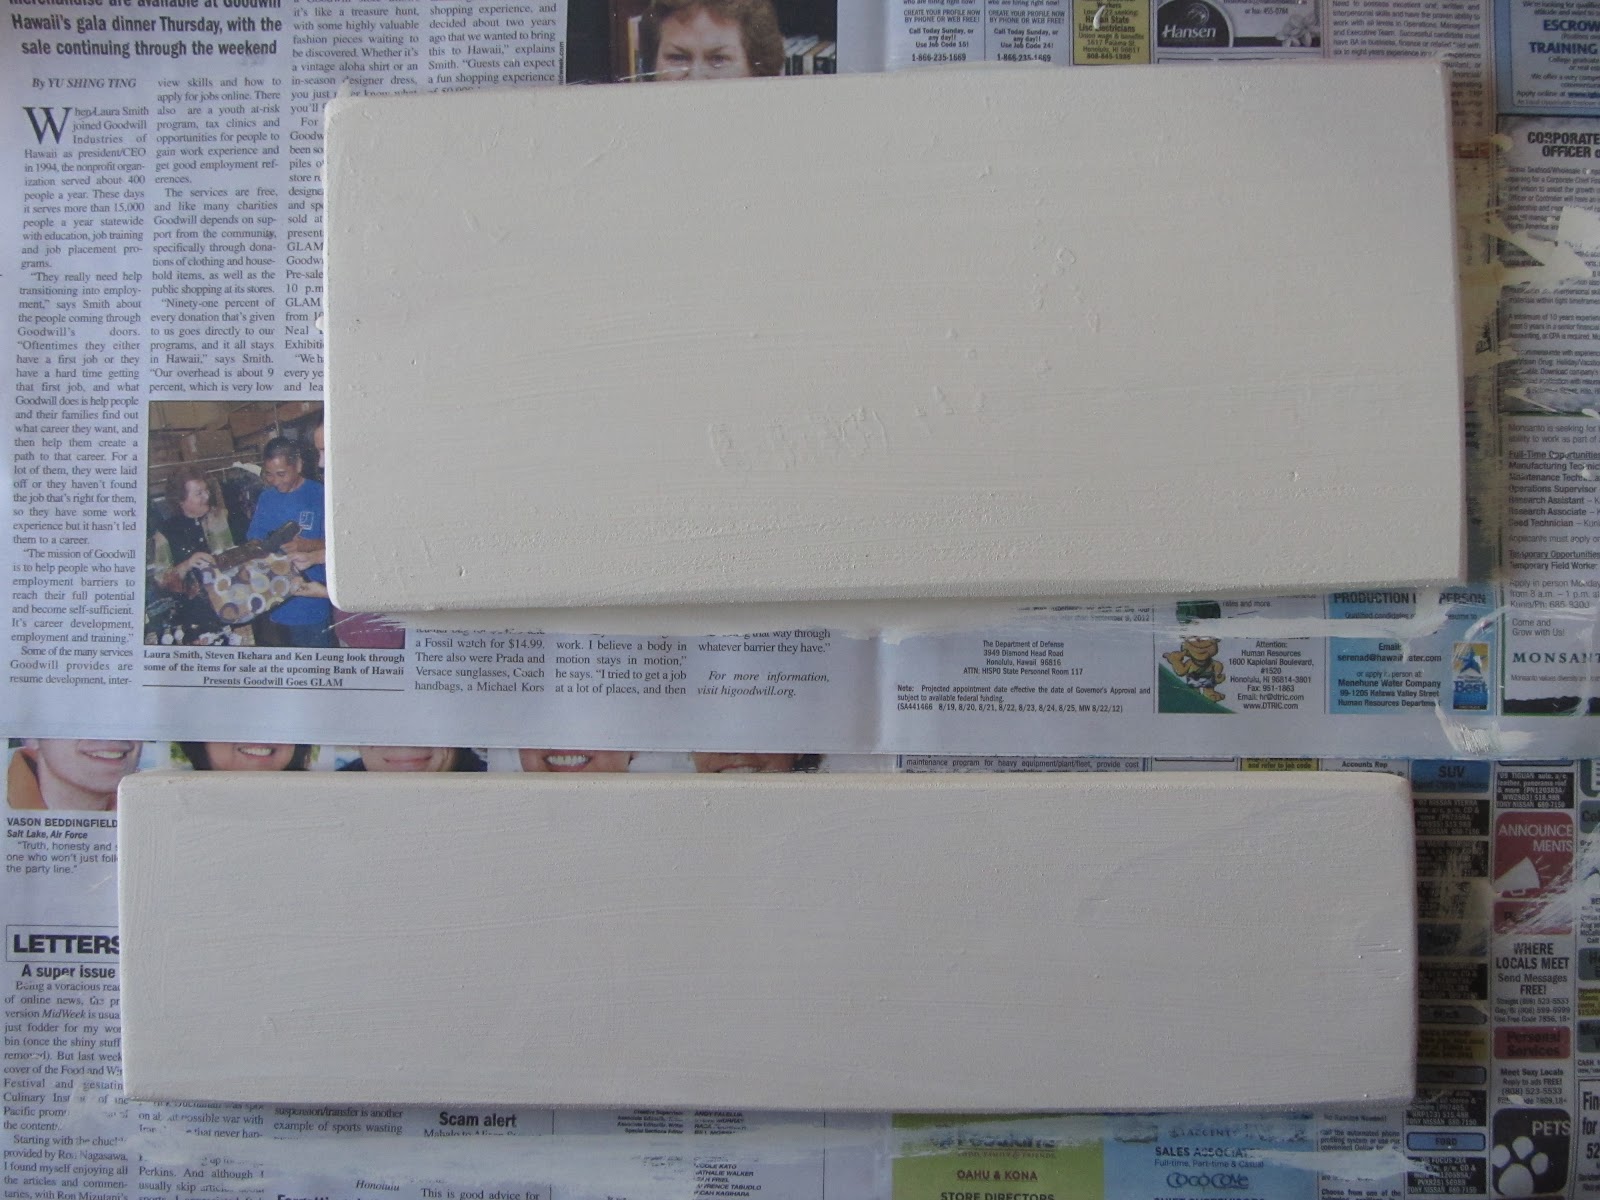
Paint your wood pieces. I used an
antique white.

 Sand edges with sand paper.

Drill holes in the wood face and wood stand.
(stand)

 (face)
Make sure they line up.
Use spray glue on the back side of
your burlap piece.

 adhere it to the front of the wood face.
Make sure your drilled holes are at the bottom before
you stick your burlap on! It's almost impossible
to reposition!
Attach face to stand with screws.

 Tie ribbon around the bottom of the face or
leave it regular! 
Enjoy


Friday, June 29, 2012

{ no-sew homemade american flag tank }

With the 4th of July right around the corner, here is a homemade tank 
for you to try out! Perfect for all the festivities you may be attending this 
Independance Day! 

What you'll need:

* white t-shirt
* scissors
* acrylic paint
* foam brush
* card board

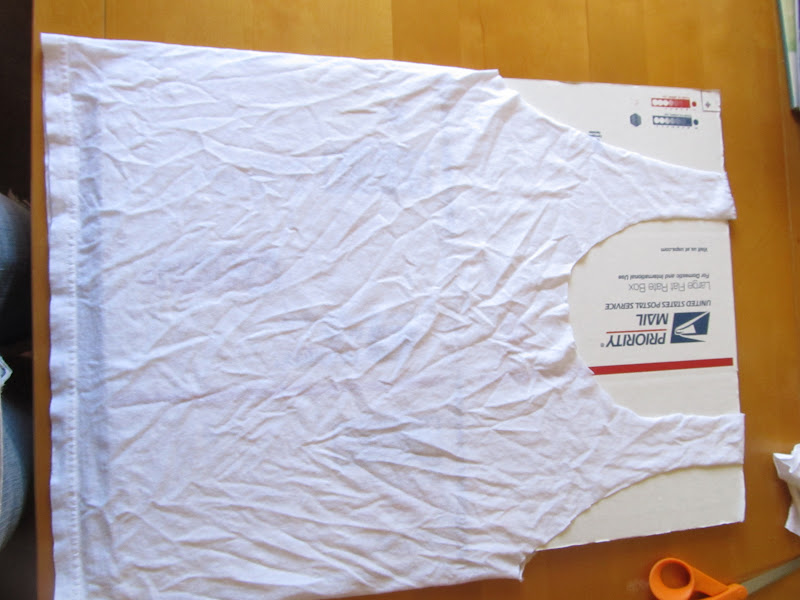
Start by cutting your t-shirt! Simply cut around the neck line as low as you
like. Then cut off the sleeves. You may want to try it on before hand 
to mark where you want your new sleeve holes and neck line before cutting.


Now fit your shirt with some cardboard. Slip it in through the shirt to prevent
the paint from bleeding through to the back of your tank.


 Now start painting! I used red and turquoise. 


I started by outlining some
star shapes with the tip of my sponge brush. They don't have to be perfect.
If you prefer a more precise star, try using a stencil or some vinyl that can be
removed after painting.


Now paint your stripes. I just eyed these up. You can use wide tape
(like packing tape) to stencil in your stripes if you wish.

I wanted my flag tank to look "rocker", so I didn't worry about
perfection!

Allow the paint to dry completely before wearing. Don't wash for 24 hours
to allow the paint to set in. First wash and dry should be separate from any
other garments. After first wash and dry, the paint will be set in and you can throw
it in with your other laundry without worrying about bleeding or color transfer! 


This shirt is even cute turned inside out! :) It muted the colors
to compliment the actual flag!


Yep, I have pretty fun friends! <3


I made this shirt about 15 minutes before doing these photos! And.... it was free!
Enjoy

Friday, May 25, 2012

{ pencil nameplate } teacher

The school year is over here in Hawaii! At the last minute my husband and I 
put together this nameplate for Ryker's teacher. Ms Arakaki was so wonderful!
She really dedicated herself to teaching her class and making sure that
everyone felt included and loved! What a wonderful woman!


What you'll need:

* 12" long 2x4
* Saw and sander
* Paint
* Vinyl lettering
* Jute and/ or yarn


My husband was wonderful and cut out and sanded the piece of wood for 
me! You need to cut the tip of the pencil  this shape >. Then, using a
sander ( belt sander is best) run the edge around the other end to define the eraser.


Go ahead and paint your pencil. Allow it to dry completely.

 I cut my vinyl lettering out on the Cricut. I used " Making
the Grade" Cartridge. I cut Ms. Arakaki at 1 1/2 inches. Ryker at 1 inch.

Center on your pencil and press it on.

Peel off the masking...

I put Ryker's name and the year on the bottom.

I finished off by tying some jute and textured yarn around the groove
that separates the eraser from the body of the pencil.


I wrapped a little bit of tissue paper around it.

This would be great  for a first day of school, teacher appreciation week,
or just because your child has a wonderful teacher! 


Wednesday, February 29, 2012

{ spring burlap banner }

Spring is such a beautiful time of year! All of my orchids are blooming, my Easter lily's 
are really close to blooming and even my banana tree is blooming! I just love all
the bright colors and especially the smell of rain! Although we get plenty of rain
here throughout the year and flowers are always blooming, 
you can definitely feel that it is 
SPRING!

I really like burlap! It has such an earthy look to it. I thought it would be perfect
for a spring banner. Plus, I figured out an easy way to prevent your burlap
from fraying on every cut! 

What you'll need:
* Burlap
* Mod Podge
* Craft paint
* Sponge dabber brush
* Scissors
* Jute
* Sewing machine with matching thread
* Cricut (optional)

Start by laying something down on your work area. I used a long piece
of plastic wrap. I  don't want my work to stick to paper or the table. 
Then lay a piece of burlap down on top.

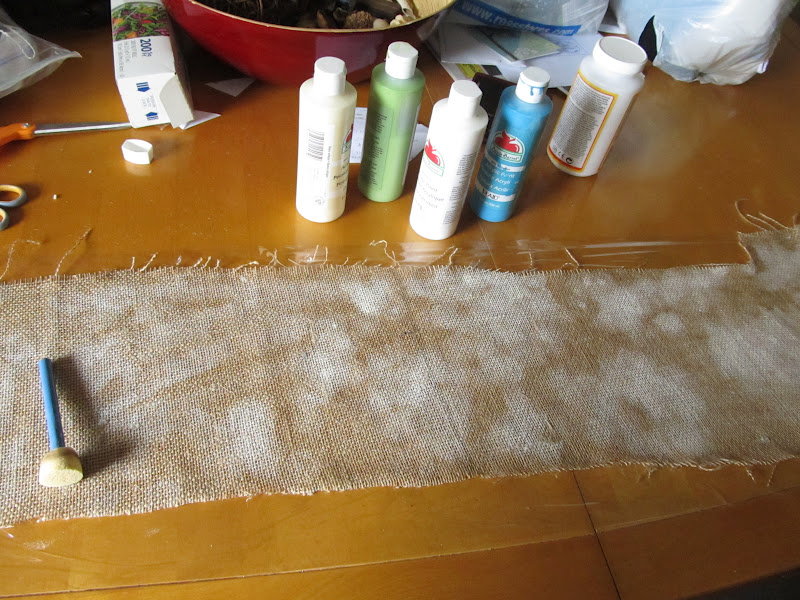
Now dab your sponge brush into some Mod Podge and start
dabbing it onto the burlap. You want to cover the whole piece.
The more you use, the stiffer it will be! So base your thickness on how
firm you want your burlap in the end.

Allow the burlap to dry completely (even the opposite side will be damp 
with Mod Podge)!

I used some white paint and dabbed a very small amount over my entire piece.
Let this dry.


Now to make a pattern for  your flags.
I used a small envelope, folded it in half, and cut off the corner.


 Now cut out your flags, using your pattern.


Using your Cricut, cut out your letters and shapes on some scrap paper.
I used George and basic shapes cartridge.

Now use the outside piece like a stencil. Dab the color of your
choice onto each flag

Make sure you keep the inside of the 'P' and 'R'  so you can hold them
into place while you paint.

If you don't have a Cricut, you can use a paintbrush to paint your letters on!
Let the paint dry completely.

I added a vintage button on the center of each flower as well.

Now it's time to put the flag together. Lay the flags out in the 
order they will be attached to avoid sewing them on wrong.

Line your jute up in the center of your pressure foot over the top of your flag.
Using a wide zigzag stitch on the sewing machine you sew the jute
down the top of each flag, adding the next flag without stopping or cutting
thread.

Make sure you leave a long end on the jute for tying off your banner.

And your done!