
Spring is such a beautiful time of year! All of my orchids are blooming, my Easter lily's
are really close to blooming and even my banana tree is blooming! I just love all
the bright colors and especially the smell of rain! Although we get plenty of rain
here throughout the year and flowers are always blooming,
you can definitely feel that it is
SPRING!

I really like burlap! It has such an earthy look to it. I thought it would be perfect
for a spring banner. Plus, I figured out an easy way to prevent your burlap
from fraying on every cut!
What you'll need:
* Burlap
* Mod Podge
* Craft paint
* Sponge dabber brush
* Scissors
* Jute
* Sewing machine with matching thread
* Cricut (optional)
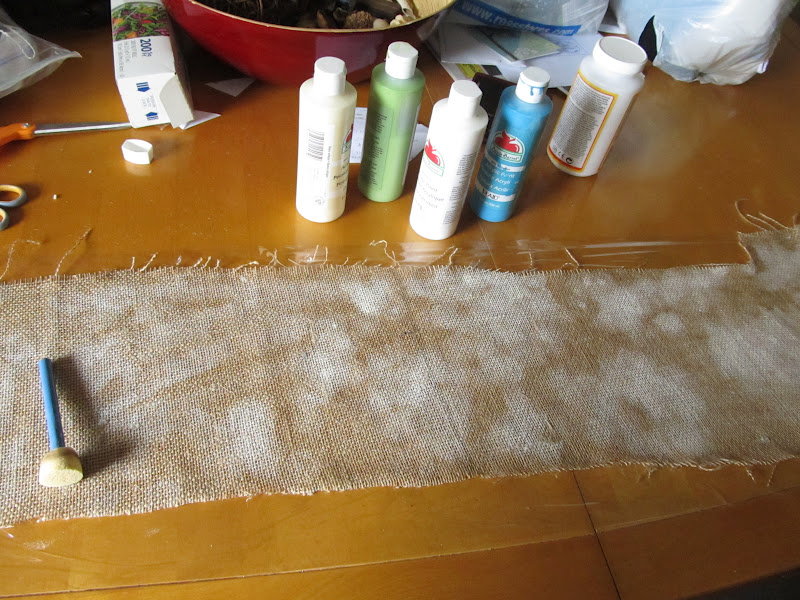
Start by laying something down on your work area. I used a long piece
of plastic wrap. I don't want my work to stick to paper or the table.
Then lay a piece of burlap down on top.

Now dab your sponge brush into some Mod Podge and start
dabbing it onto the burlap. You want to cover the whole piece.
The more you use, the stiffer it will be! So base your thickness on how
firm you want your burlap in the end.


Allow the burlap to dry completely (even the opposite side will be damp
with Mod Podge)!
I used some white paint and dabbed a very small amount over my entire piece.
Let this dry.

Now to make a pattern for your flags.
I used a small envelope, folded it in half, and cut off the corner.


Now cut out your flags, using your pattern.


Using your Cricut, cut out your letters and shapes on some scrap paper.
I used George and basic shapes cartridge.

Now use the outside piece like a stencil. Dab the color of your
choice onto each flag

Make sure you keep the inside of the 'P' and 'R' so you can hold them
into place while you paint.

If you don't have a Cricut, you can use a paintbrush to paint your letters on!
Let the paint dry completely.
I added a vintage button on the center of each flower as well.

Now it's time to put the flag together. Lay the flags out in the
order they will be attached to avoid sewing them on wrong.
Line your jute up in the center of your pressure foot over the top of your flag.
Using a wide zigzag stitch on the sewing machine you sew the jute
down the top of each flag, adding the next flag without stopping or cutting
thread.

Make sure you leave a long end on the jute for tying off your banner.

And your done!


No comments:
Post a Comment