Showing posts with label wedding. Show all posts

Saturday, October 6, 2012

{ wedding arrow sign }

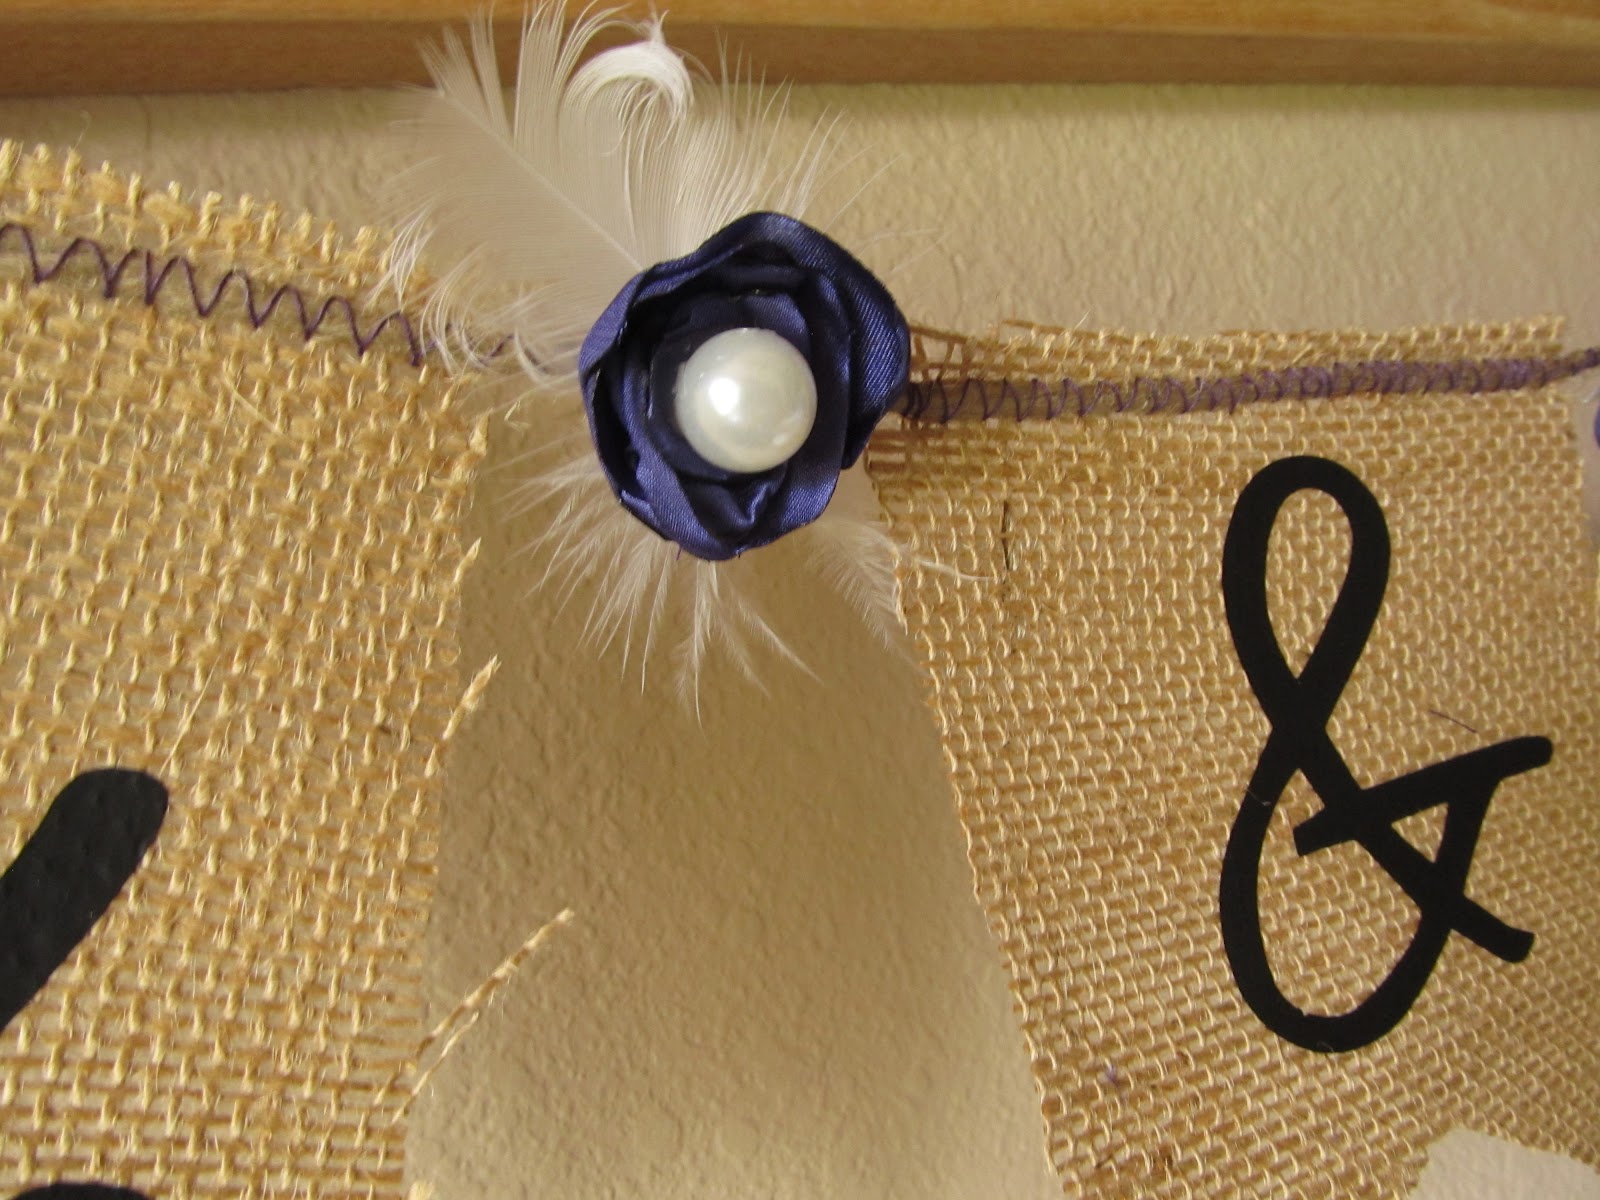
These arrow signs are so cute and simple for any backyard occasion!
This one just happened to be a {wedding}.

What you'll need:
*  1x6 piece of wood
* 1x1 piece of wood (cut one end into a point for
staking into the ground)
* paint and paint brush
* screws
* sander 
* saw

My Grandpa and I made this sign the morning of the wedding
on a whim (I'm good at that). It took us about 15 minutes and  we
just used what he had laying around in his shop. We started
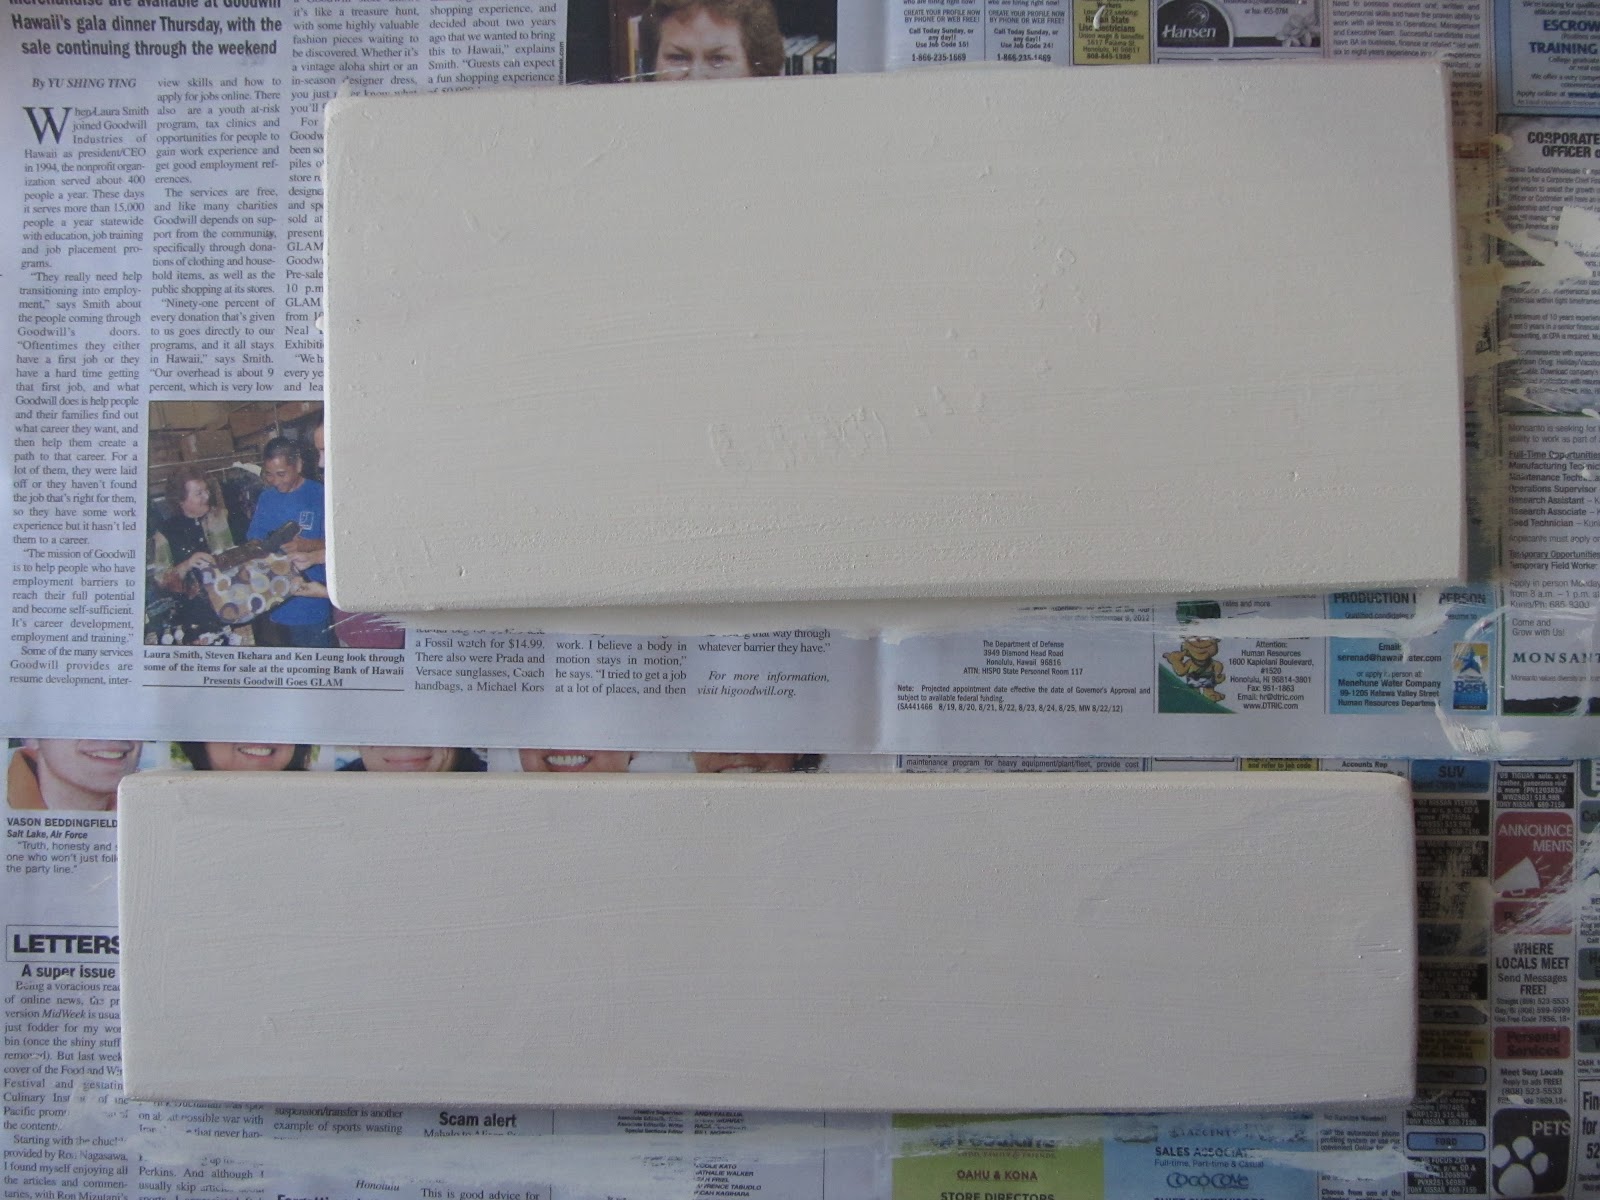
with a 1x6 piece of barn wood. I just free-handed a point on one
end and an indented point on the other.
 Then cut them out.

Sand the cut edges.

Now screw the 1x1 stake onto the back of your arrow, pointy end down..

Paint your word or words onto the front side of your arrow. You can
use vinyl, too, if you thought that far in advance ;)

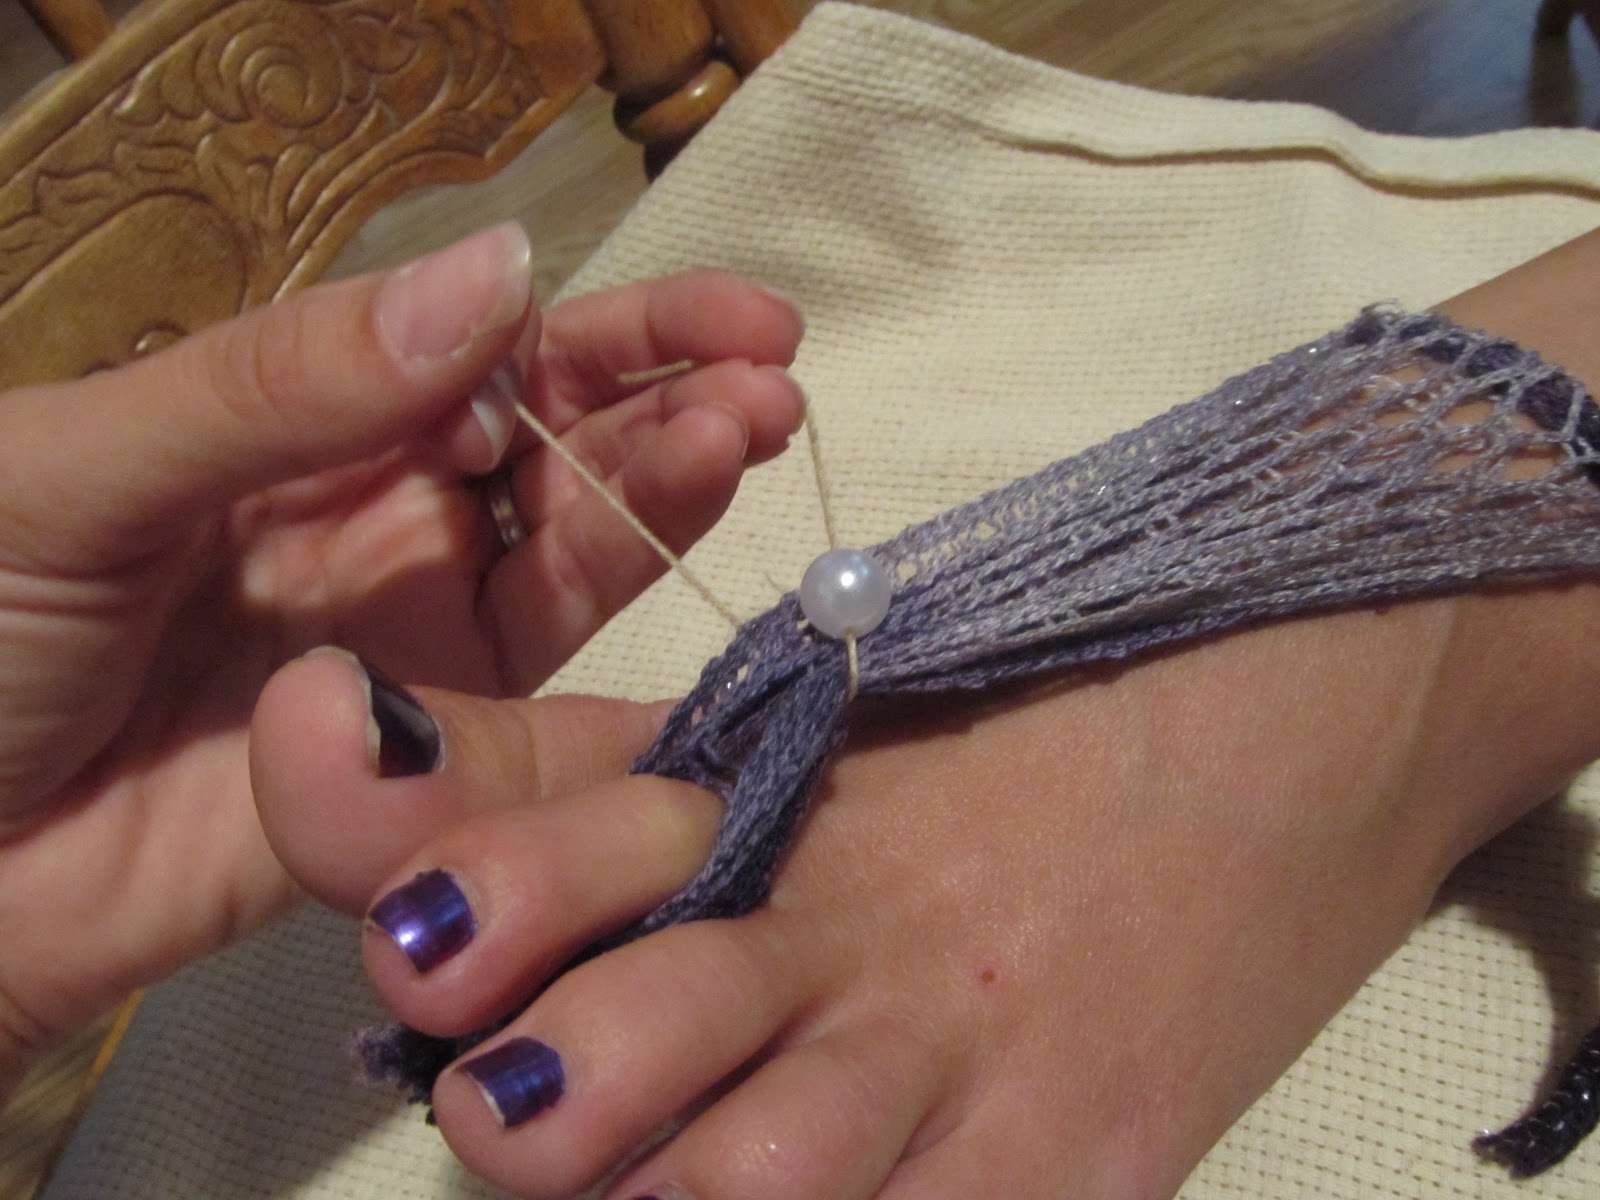
Tie a ribbon or some tulle around the stake near the arrow and 
hammer it into the ground. Just remember to consider which way
you want your arrow to be pointing before you screw it onto the stake. 
We want to help our guests, not confuse them! :)

Most wonderful man I know, and my partner in crime
for this project! Thanks Grandpa! 

enjoy


Thursday, October 4, 2012

{ love is sweet } table sign

Candy buffets are fun. To go along with my sisters
candy buffet, I made this sweet sign to sit along
side her jars of sweets.

 What you'll need:
* wood face (1x6x12)
* wood stand ( 1x4x16)
* paint
* sand paper
* 2 screws and screw gun or screw driver
* drill
*  printed/painted burlap
* spray glue
* ribbon (optional)

I sent my burlap off to the T-shirt print shop
to get these letter pressed on. It was a huge time saver
and looks great!
Paint your wood pieces. I used an
antique white.

 Sand edges with sand paper.

Drill holes in the wood face and wood stand.
(stand)

 (face)
Make sure they line up.
Use spray glue on the back side of
your burlap piece.

 adhere it to the front of the wood face.
Make sure your drilled holes are at the bottom before
you stick your burlap on! It's almost impossible
to reposition!
Attach face to stand with screws.

 Tie ribbon around the bottom of the face or
leave it regular! 
Enjoy


Friday, September 28, 2012

{ almost sandals } bare foot wear

My sister just got married! I'm so happy for her and
her new husband! They are wonderful together!
Being the oldest sister and all, I was asked to make
some things for the wedding. One thing was to make
some "almost sandals". My sister wanted
the simplicity of bare feet but she wanted it to look put
together at the same time. So, this is what I came
up with!
 
 
My mother went to the store to get yarn and came back
with this stuff. It turned out to work better than I
could have hoped!
 
What you'll need:
* mesh yarn/ netted yarn
* scissors
*string
*pearl bead
 
I started by generally measuring the foot from the
toe webbing to the ankle and then adding another inch.
Double this length. Cut two pieces (one for each foot).


Tie the two ends together in a knot.
 
Cut a length of netted yarn that will wrap
and tie around your ankle.
 ( you will need two of these as well)
Thread it through the loop created in the
original strip.
 
Now you can spread the netting out to create
a triangle.
 
Next to your knot, spread the netting out so
you have a hole.
 
Slip your second toe through this hole. The knot
should comfortably sit in the crevice where
your toes meet the ball of your foot.
 
Spread the netting out
 
 Tie the ankle strap in a bow on the side.
 
Thread a short piece of string through a pearl bead.
 
Tie the string in around the thinnest area
of netting, near the toe.
 
Slide it down. Cut off excess string.


That's it! So simple!


Tuesday, September 25, 2012

{ vintage, rustic ring bearer pillow }

In the last minutes of preparing for my sisters
wedding, I threw together a simple ring bearer pillow.
We intended on using burlap but found this lovely
weaved fabric. Reminds me of an old blanket.
 
What you'll need:
* fabric for the pillow
* fabric for the heart
* tulle
* ribbon
* jute
* sewing machine and thread
 
Cut two 9" squares from your pillow fabric.
Set back piece aside.
 
Cut out 4 pieces of tulle measuring
5x4 inches.
 
Cut out one heart from coordinating fabric
approximately 4x3 inches.

Pin heart, tulle and front piece of pillow fabric
together in that order.
 
Sew around the outside of the heart.
Remove pins.
 
Sew jute and ribbon to  the center of the heart
with a zigzag stitch.

 
Now sew the back pillow fabric to the front
pillow fabric with a 1 inch seam.
Wrong sides together.
Be careful not to sew the ribbon and jute into your
seam. Leave a 3-4 inch opening for stuffing the pillow.
 
Stuff the pillow.
 
Sew opening closed.
 
I had a fun time taking pictures of this one!

 
Enjoy!


Tuesday, September 18, 2012

{ mr. & mrs. } banner

Another wedding banner!
No wedding should be without something that says
Mr. & Mrs.
 
 
What you'll need:
 
* burlap
* scissors
* sewing machine and thread
* jute
* ribbon
* embellishments
 
I cut out a 5 inch wide pattern for my flags from some
cardboard. And then cut out 6 flags.

 
I took the flags to my local T-shirt shop and
had them add the lettering to each flag
individually in the font and size of my choice.
I requested 3 inch lettering.
 
When I got my completed pieces home, I
simply sewed a running strand of jute across
the top edge of my burlap flags.
 
I left a small
space on either side of the "&"
for embellishments.
 
Hot glue satin flowers in the spaces.
 
 
Tie ribbon to either end of the banner.