I recently saw some frames online that were so dang cute! No plain old
square frames either! They were frames that obviously were inspired
by the squiggly bracket!
(I'm not sure who named it that
but I love it! hahah squiggly bracket --> { })
I just switched out my family photo and I thought about painting the
frame (I'm trying to get away from all the black). Then I decided
to just make my own squiggly bracket frame; Jumbo sized!
I just used my 20 X 30 picture frame and built a frame around it! Pretty
simple for the outcome!
What you'll need:
* Old frame
* Tape measure
* 1x4 inch board ( length depends on the size of your frame)
* Saw
* Craft paper and pencil
* Sand paper
* Router
* Wood glue
* Wood clamps
* Paint and brush
Start with your old frame.
Sorry for the lack of photos .... But you will use these measurements
and mark it on your 1x4. 2 of each. Then cut them at a 45 degree angle.
The measurement will be the short end of your 45 degree angle.
Now you should have 4 piece total that look like this ( 2 measuring
the same as side and 2 measuring the same as bottom of frame). They should be able
to sit nicely around the outside of your original frame with all corners
and angles touching flush.
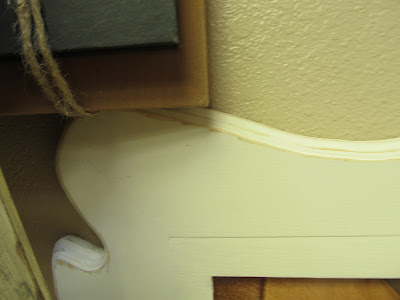
Now to add your detail! I used craft paper and cut out patterns that looked
just like the image above. I folded it in half and then drew a design. When you cut it
out you will have a symmetrical design. (I made different designs for
bottom and side. You can use the same if you want). I then traced this pattern
onto my wood and cut it out with the scroll saw.
transition at your joint. Match up your corners to make sure they
match up and sand them down if they don't.
Next step is to router all the outside edges.
There are so many different bits available for the router.
Sand any rough edges.
Now it's time to put this thing together. Remove your picture, glass and backing from
the original frame if you haven't already done so.
Using wood glue and clams, attach the new frame to the outside of the old one.
I did two sides at a time because I didn't have enough clamps to do it all at once.
Allow the glue to dry completely before removing the clamps.
Now you can paint and sand as you please!
Just make sure it's completely dry before putting your photo back in!
Cost: $10


No comments:
Post a Comment